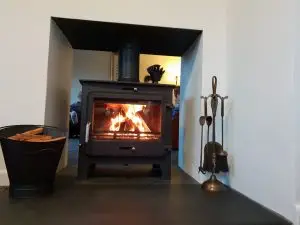
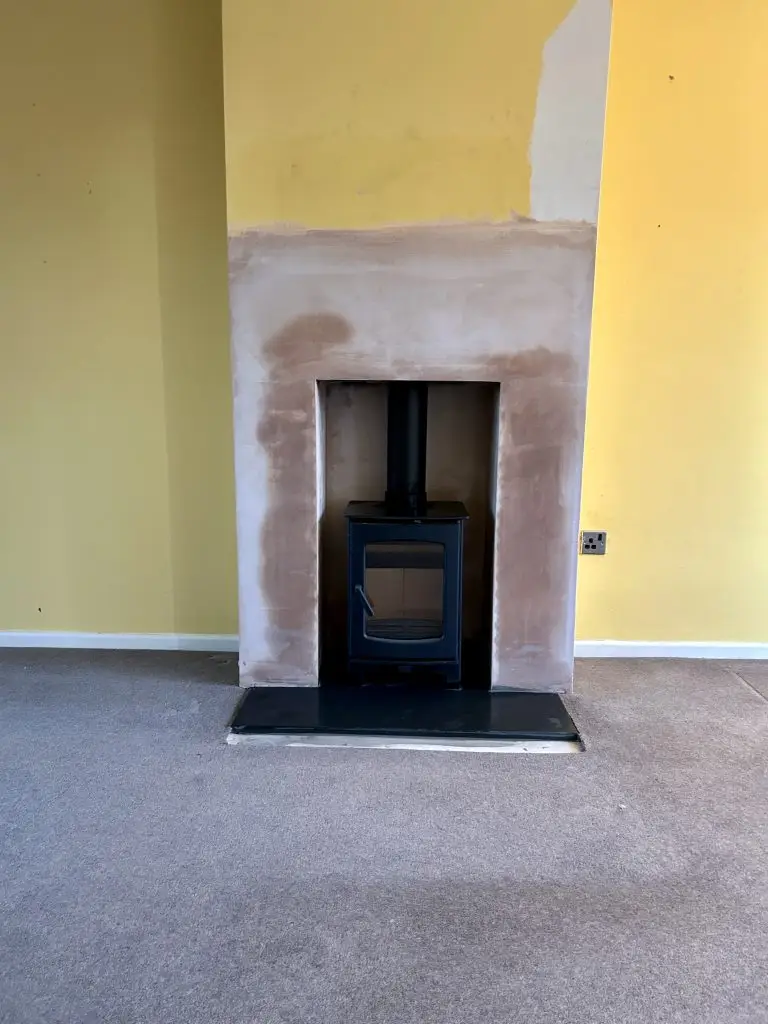
Curing your stove is the first step to making sure it lasts – a few careful burns now will protect the finish and set it up for years of use.
Curing: The First Step to a Healthy Stove
Before you can start using your stove normally, it needs to be cured. Curing allows the metal, paint, fire rope, and internal parts to settle into place without damage. Skip this stage and you risk warped components, pulling the fire rope off the door, cracked plaster, or peeling paint – so it’s worth doing properly.
Why curing matters
Protects seals and rope – sudden high heat can cause them to shrink or split.
Settles the paint – curing gives the stove paint a chance to harden. It will smoke and smell a bit – that’s normal.
Reduces stress on the body – bringing the stove up to heat gradually avoids warping.
Keeps the chamber intact – if plaster or render is still drying, gentle heat prevents cracks.
When to start
Wait at least 24 hours after installation before lighting any fire – the sealants we’ve used on your installation need to set.
If plastering or rendering was done, let it dry completely first (can be several days).
How to cure your stove
You’ll need to light 7–10 small fires. Each one should be a little bigger than the last.
Stage 1 – Kindling only
Build a small fire with kindling and one firelighter.
Let it burn out fully, then allow the stove to cool.
Stage 2 – Add a small log
Repeat, but add one split log once the kindling is burning well.
Keep vents open for a clean burn.
Stages 3–7 – Gradually increase
Each fire should last a little longer and use slightly more fuel.
Add one more log per fire until you’re up to a normal load.
Stage 8–10 – Normal burn length
By now the stove will have settled.
You can increase the burn time to a couple of hours.
Important tips:
Always let the stove cool completely between fires.
Keep the room well ventilated – there will be some smoke and odour from paint curing.
Don’t slam logs in or run the stove at full blast until curing is complete.
What’s normal during curing
Smell – a strong chemical paint smell at first. It will pass after a few burns.
Smoke from paint – don’t panic, this is expected. Ventilate the room.
Condensation on glass – often clears as the stove gets hotter.
After curing
Once you’ve completed the curing process:
You can use the stove normally.
Expect the first few “proper” burns to still give off a faint smell.
Keep sticking to dry, seasoned or kiln-dried logs.