Hidden Fireplaces – What’s Behind My Blank Wall?

Hidden fireplaces – waiting to be uncovered.

Many homes still have their original fireplaces tucked away – sometimes boarded over, covered with a plate, or filled with rubble. You won’t know what’s there until the wall comes down. This guide shows how we uncover them, what we usually find, and the options depending on the condition of the fireplace behind.

How can you tell if there is a fireplace behind the wall?

There are a few tell-tale clues that something’s hiding in there:

  • A hollow sound when you tap the wall.
  • A metal plate fixed to the chimney breast.
  • A “bump-out” in the wall where the chimney runs.
  • Historical hints — most older properties were built with open fireplaces originally.

Room Prep, Outside Prep & Access

Before we start uncovering, the room needs to be cleared as much as possible. Small items, rugs, and delicate belongings should be removed beforehand, while heavier furniture can often be moved by us or protected on the day. Dust sheets and floor protectors are used, but because this is demolition work, it’s normal for dust to spread.

Once work begins, the room is usually inaccessible until we’re finished. As each day progresses, we’ll aim to keep the room as organised as possible – tools in and out, and waste or rubble removed and organised outside ready for collection or into our van. Coverings are kept in place until the final clean-down at completion. Even then, you should expect some fine dust to continue settling for a few days afterwards.

There’s also work happening outside. We usually set up a bench and mixing station for mortar and other wet products, plus an area for cutting materials. These areas are protected with heavy-duty plastic sheeting and boards where needed. For this reason, we’ll need a clear space with safe access to power and water, ideally on a drive, patio, or another suitable outdoor area.
The Uncovering Process

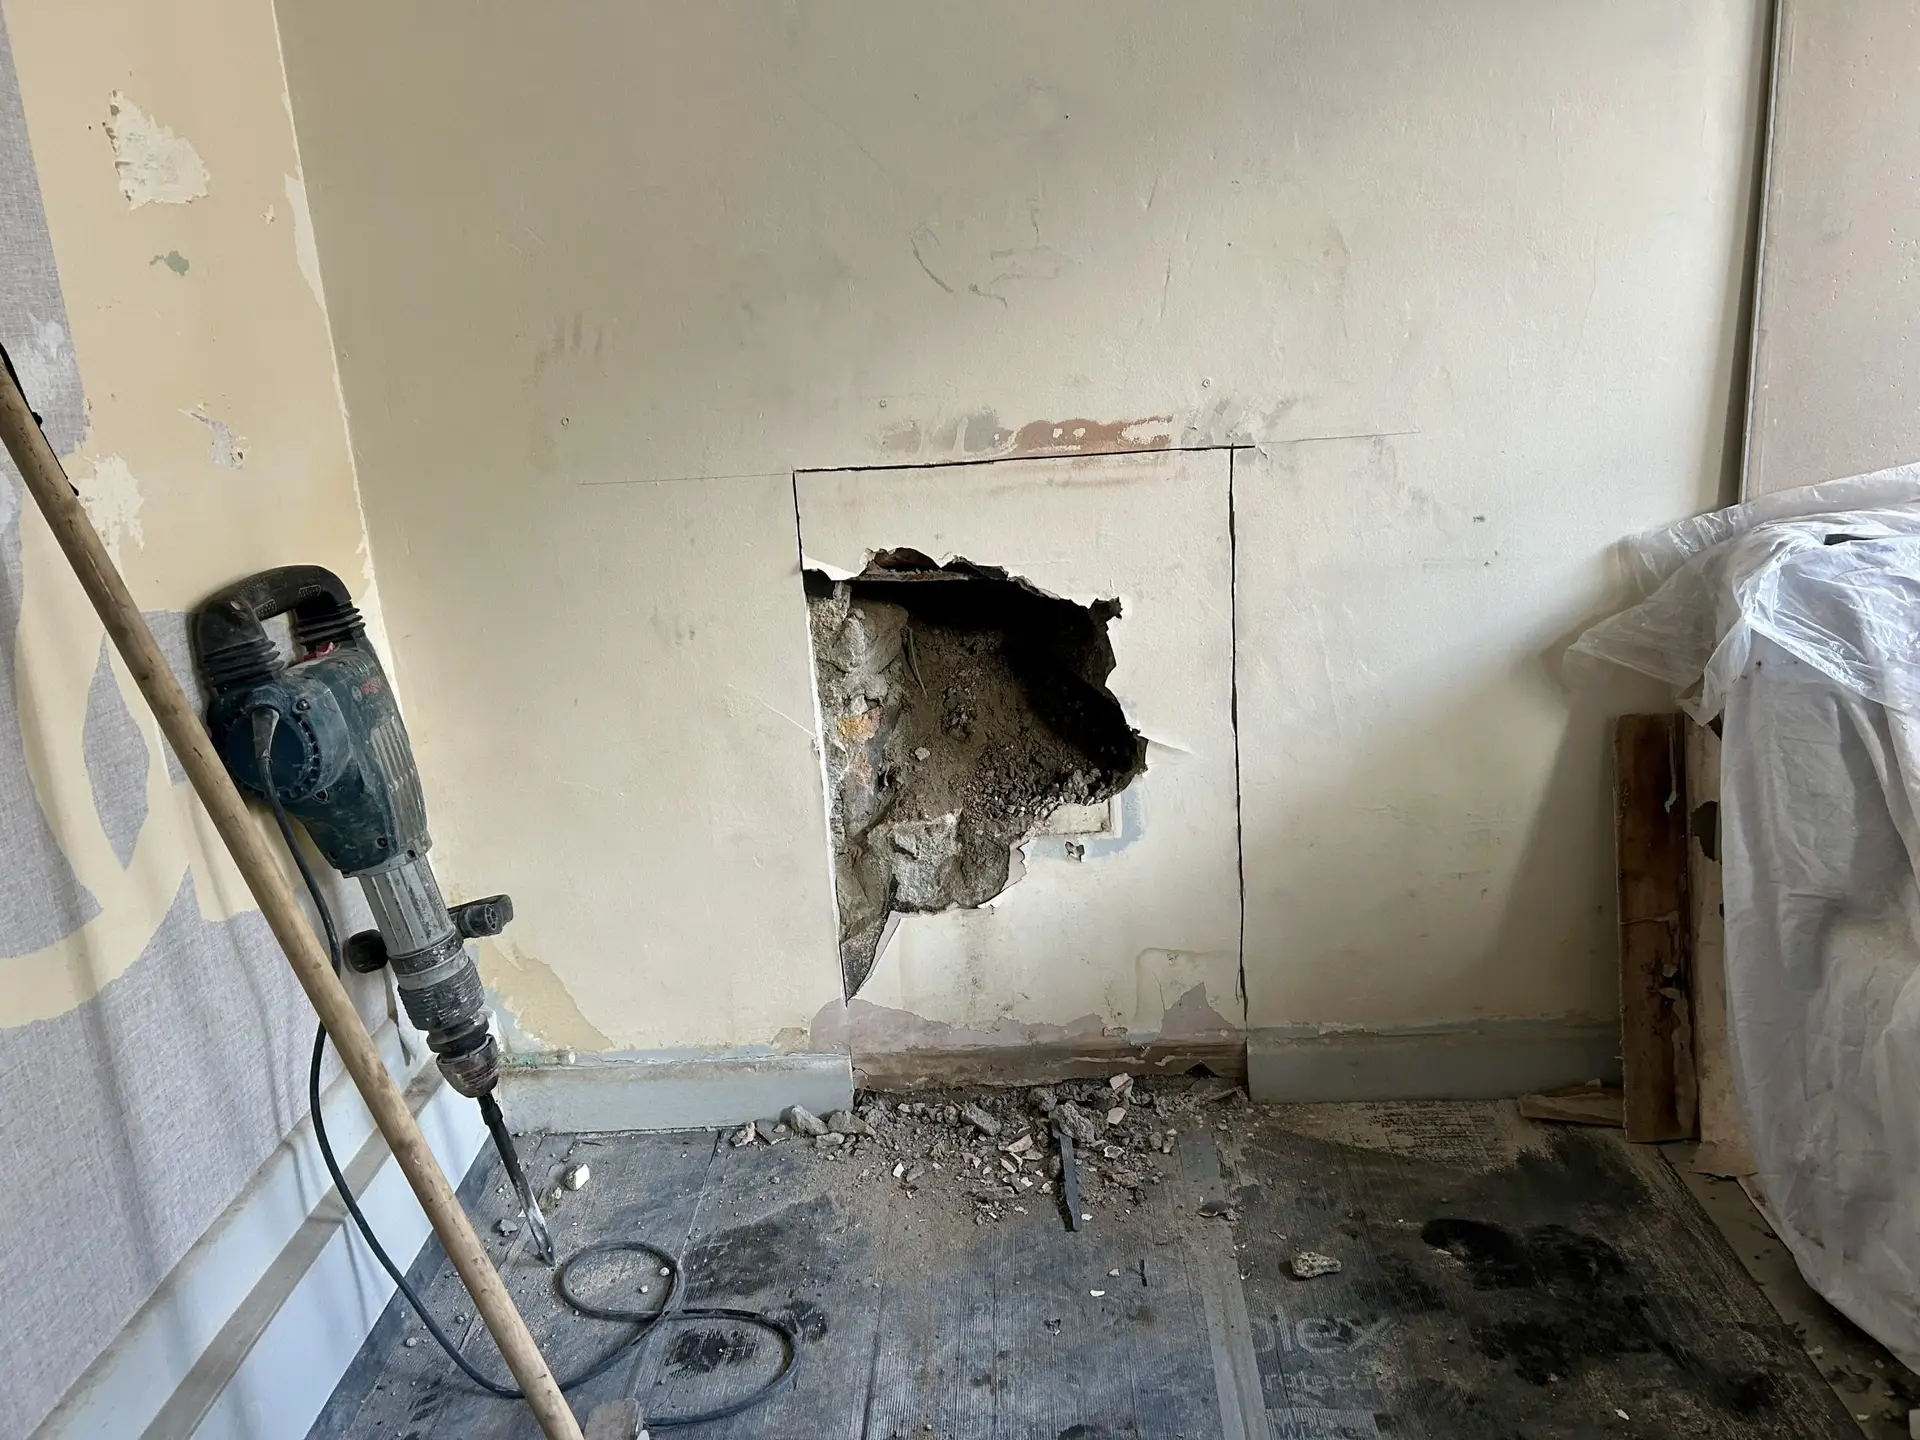
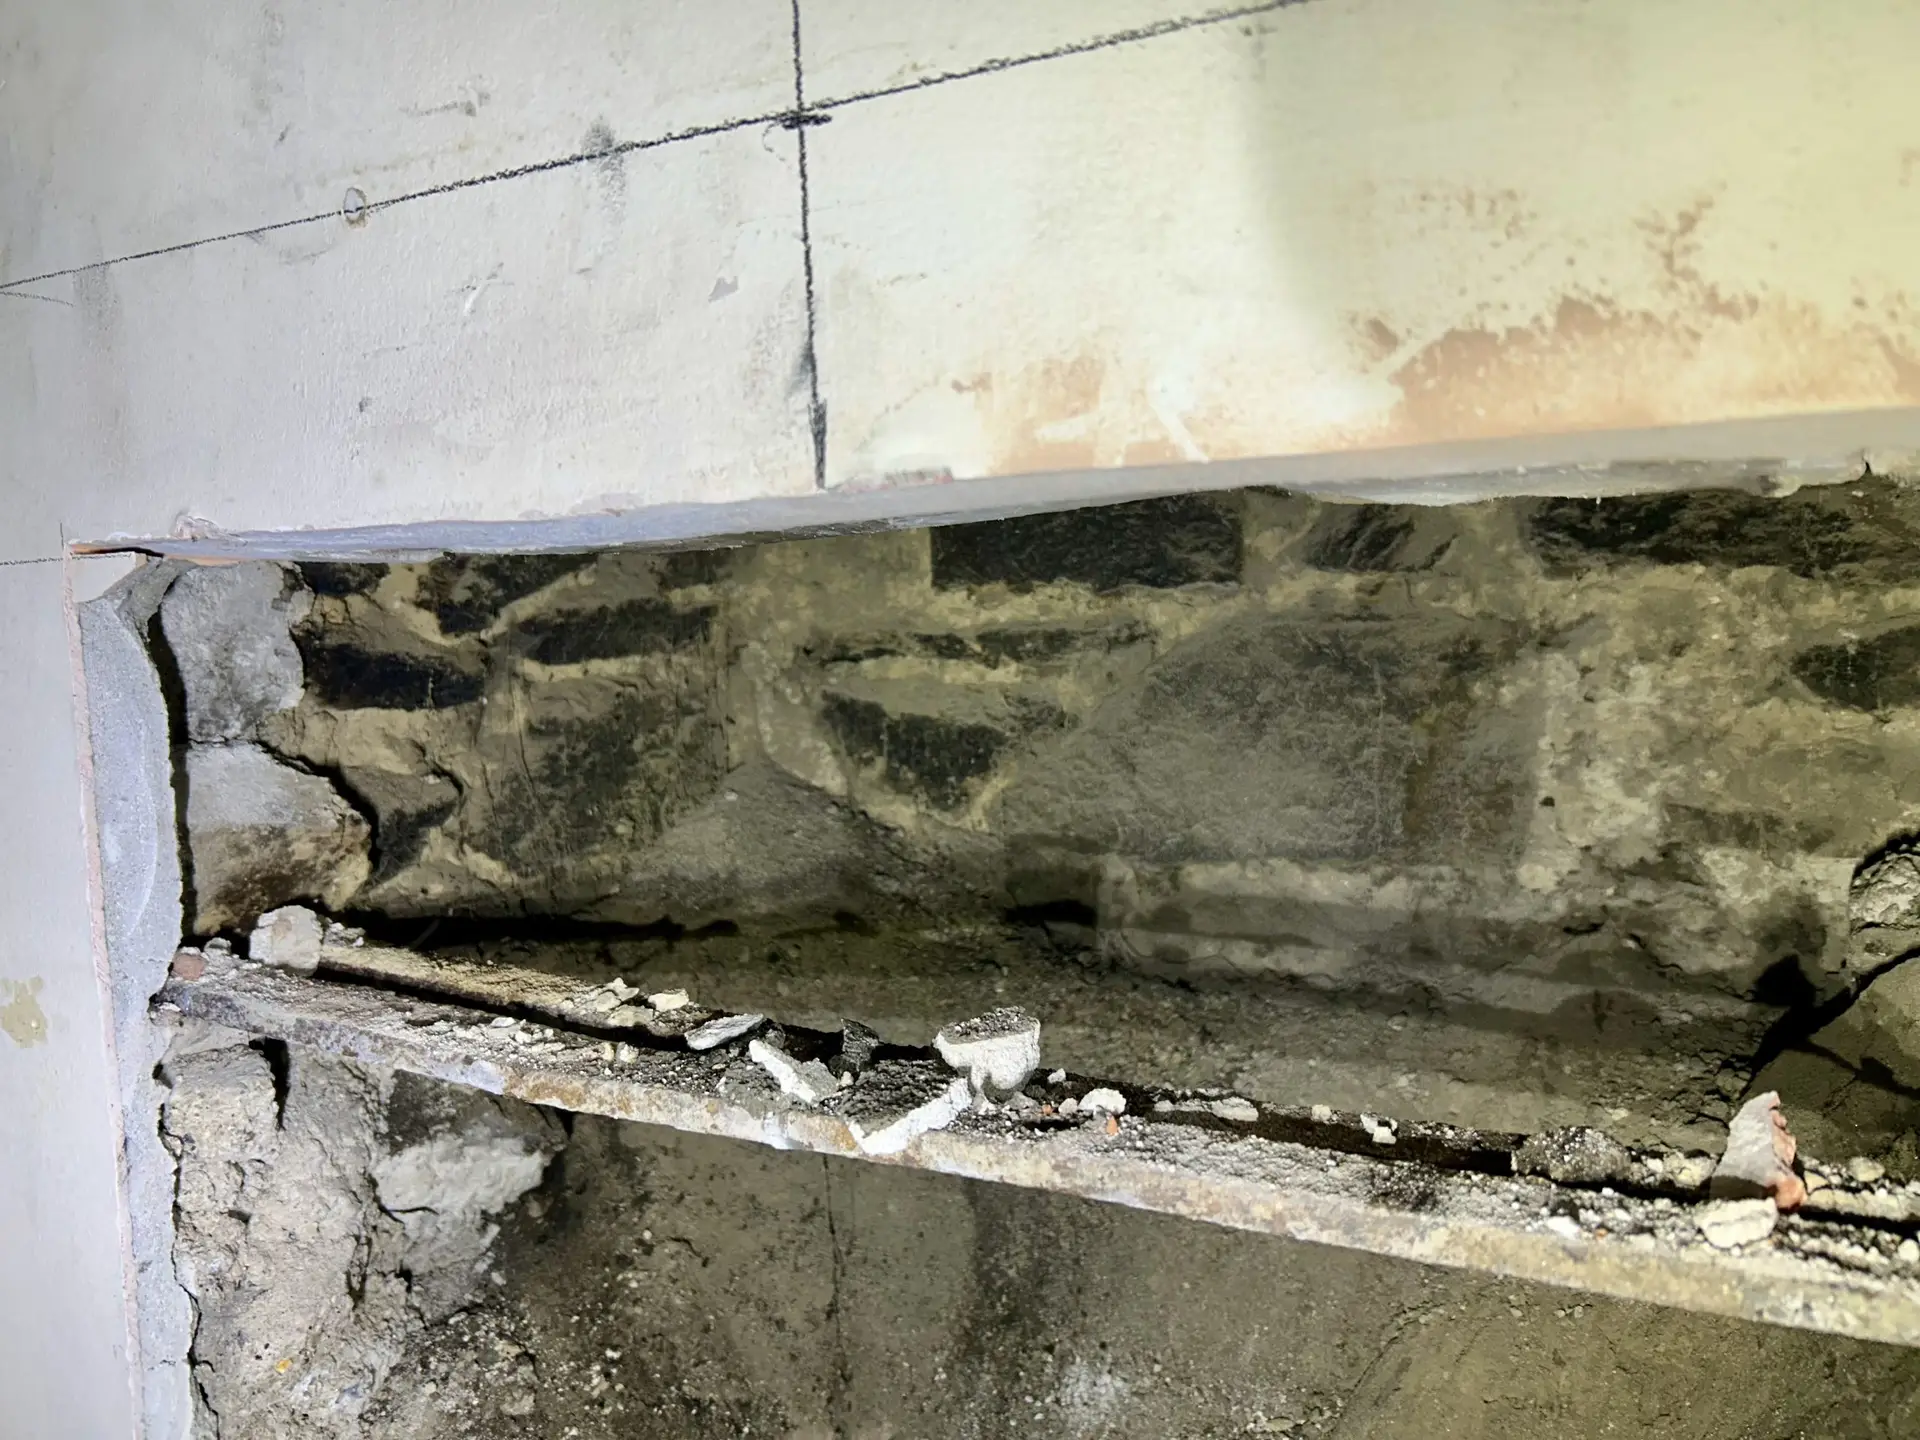
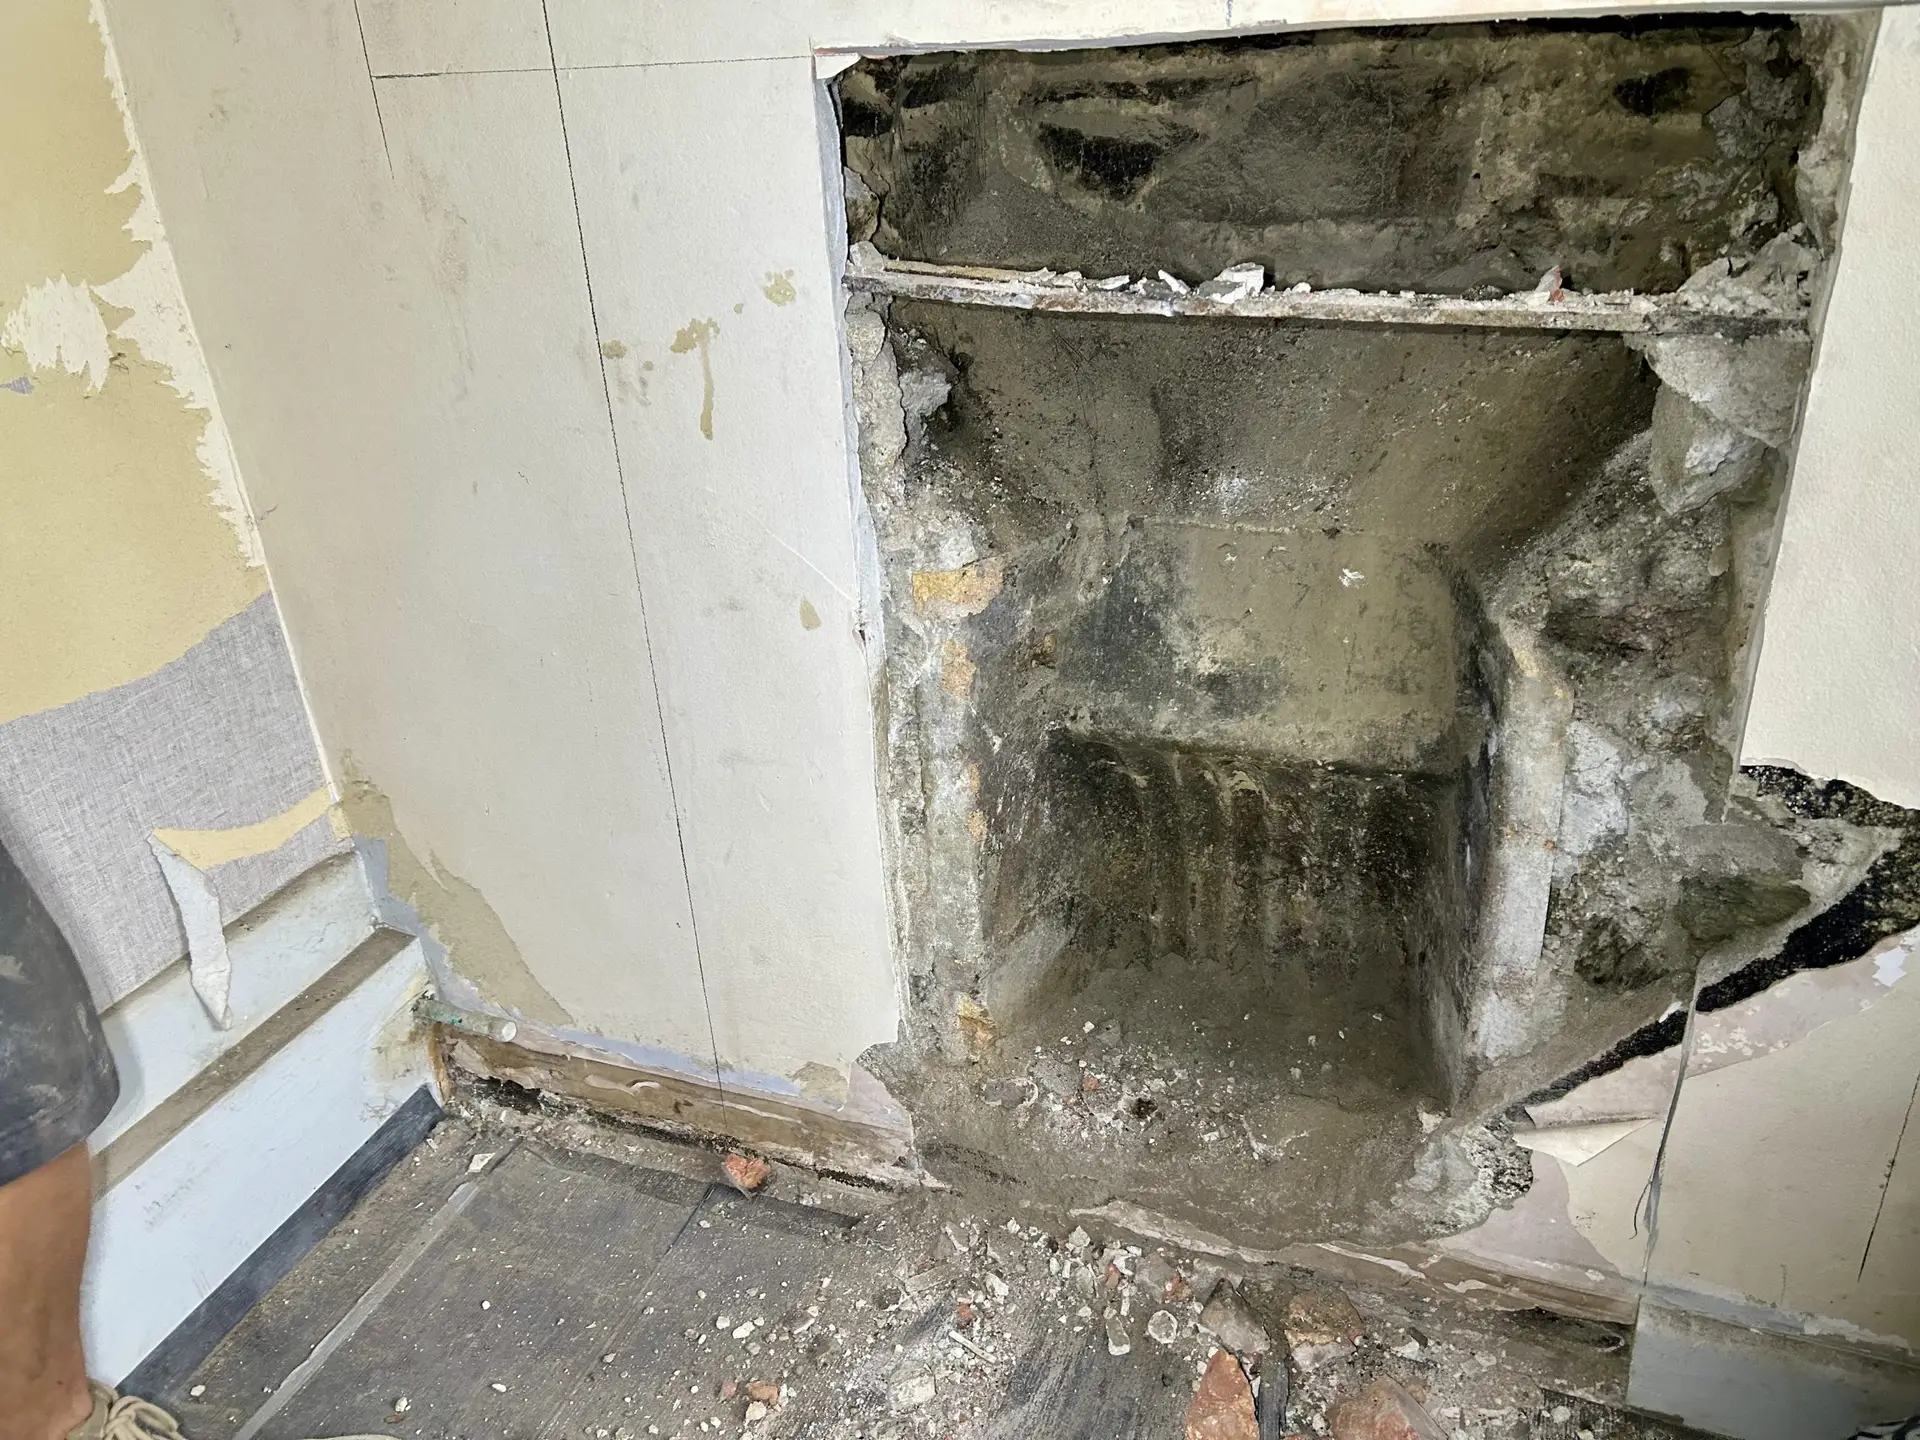
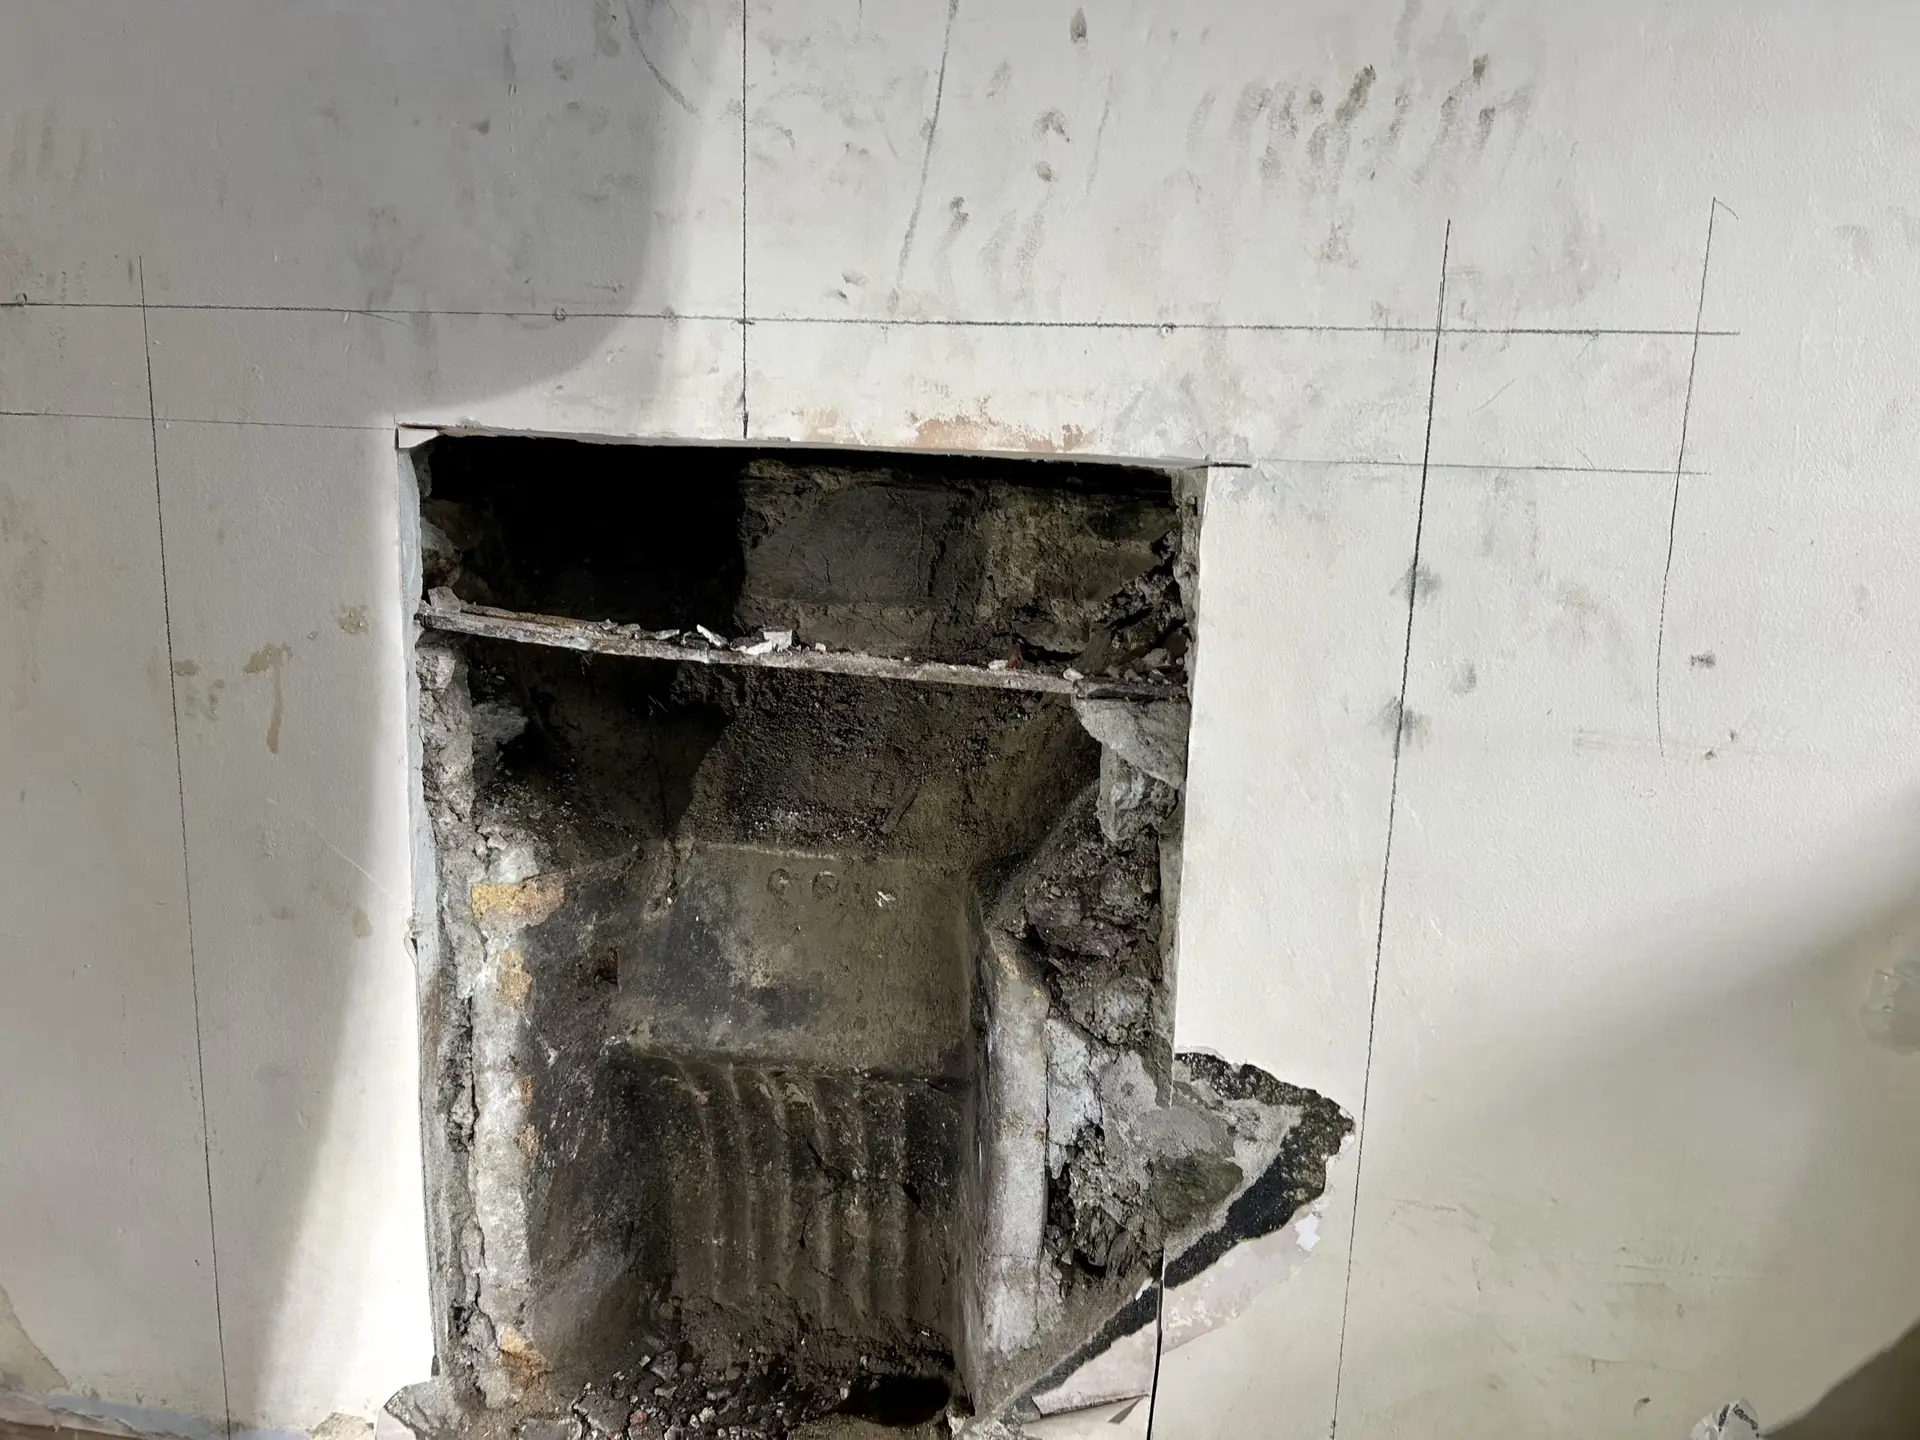
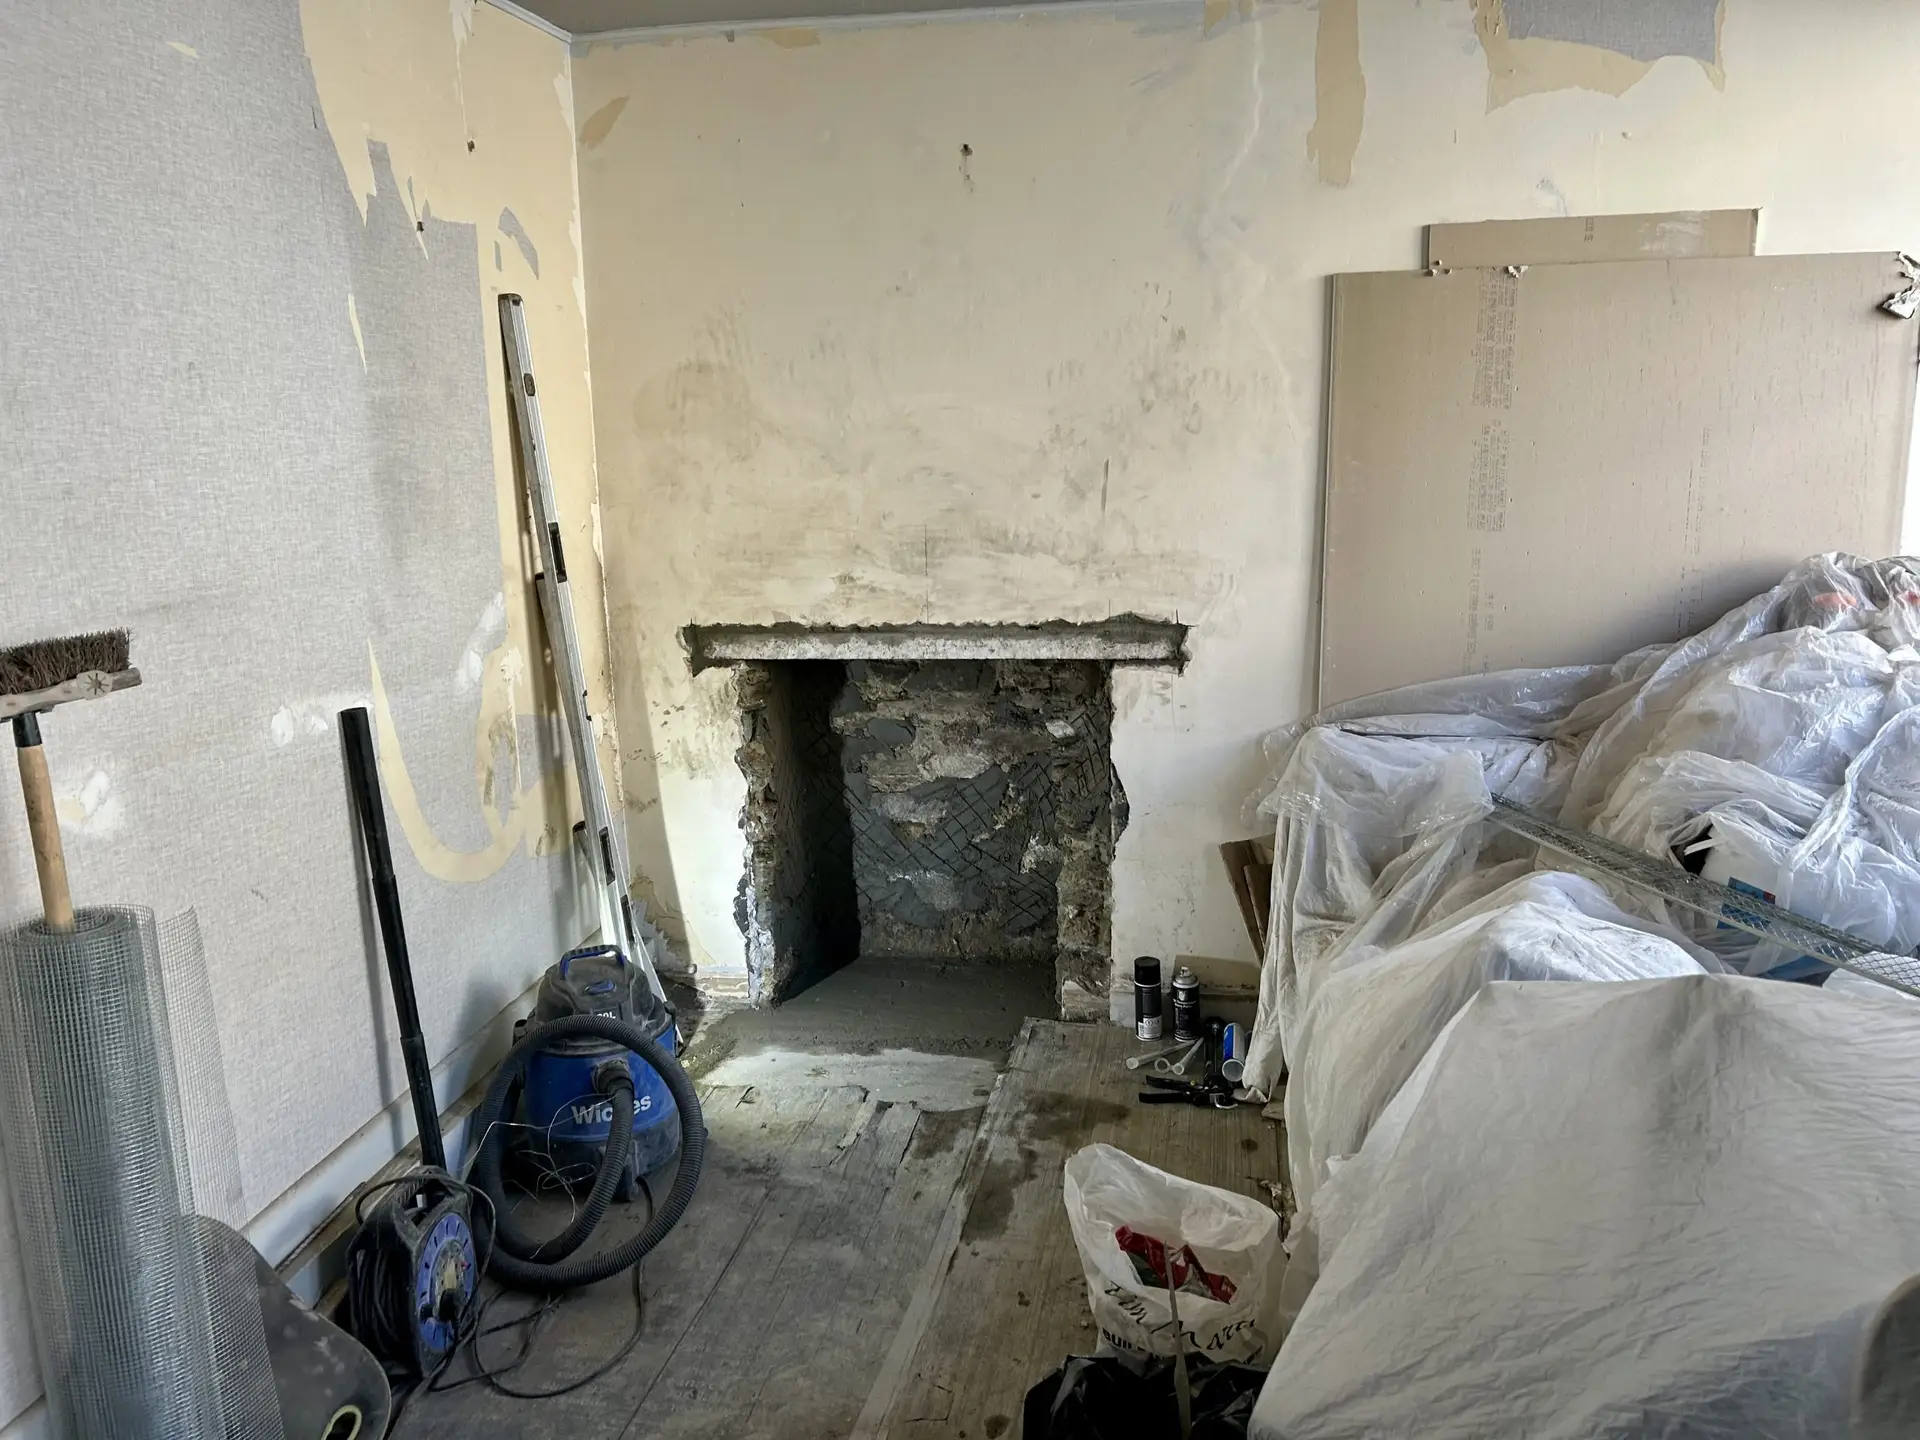
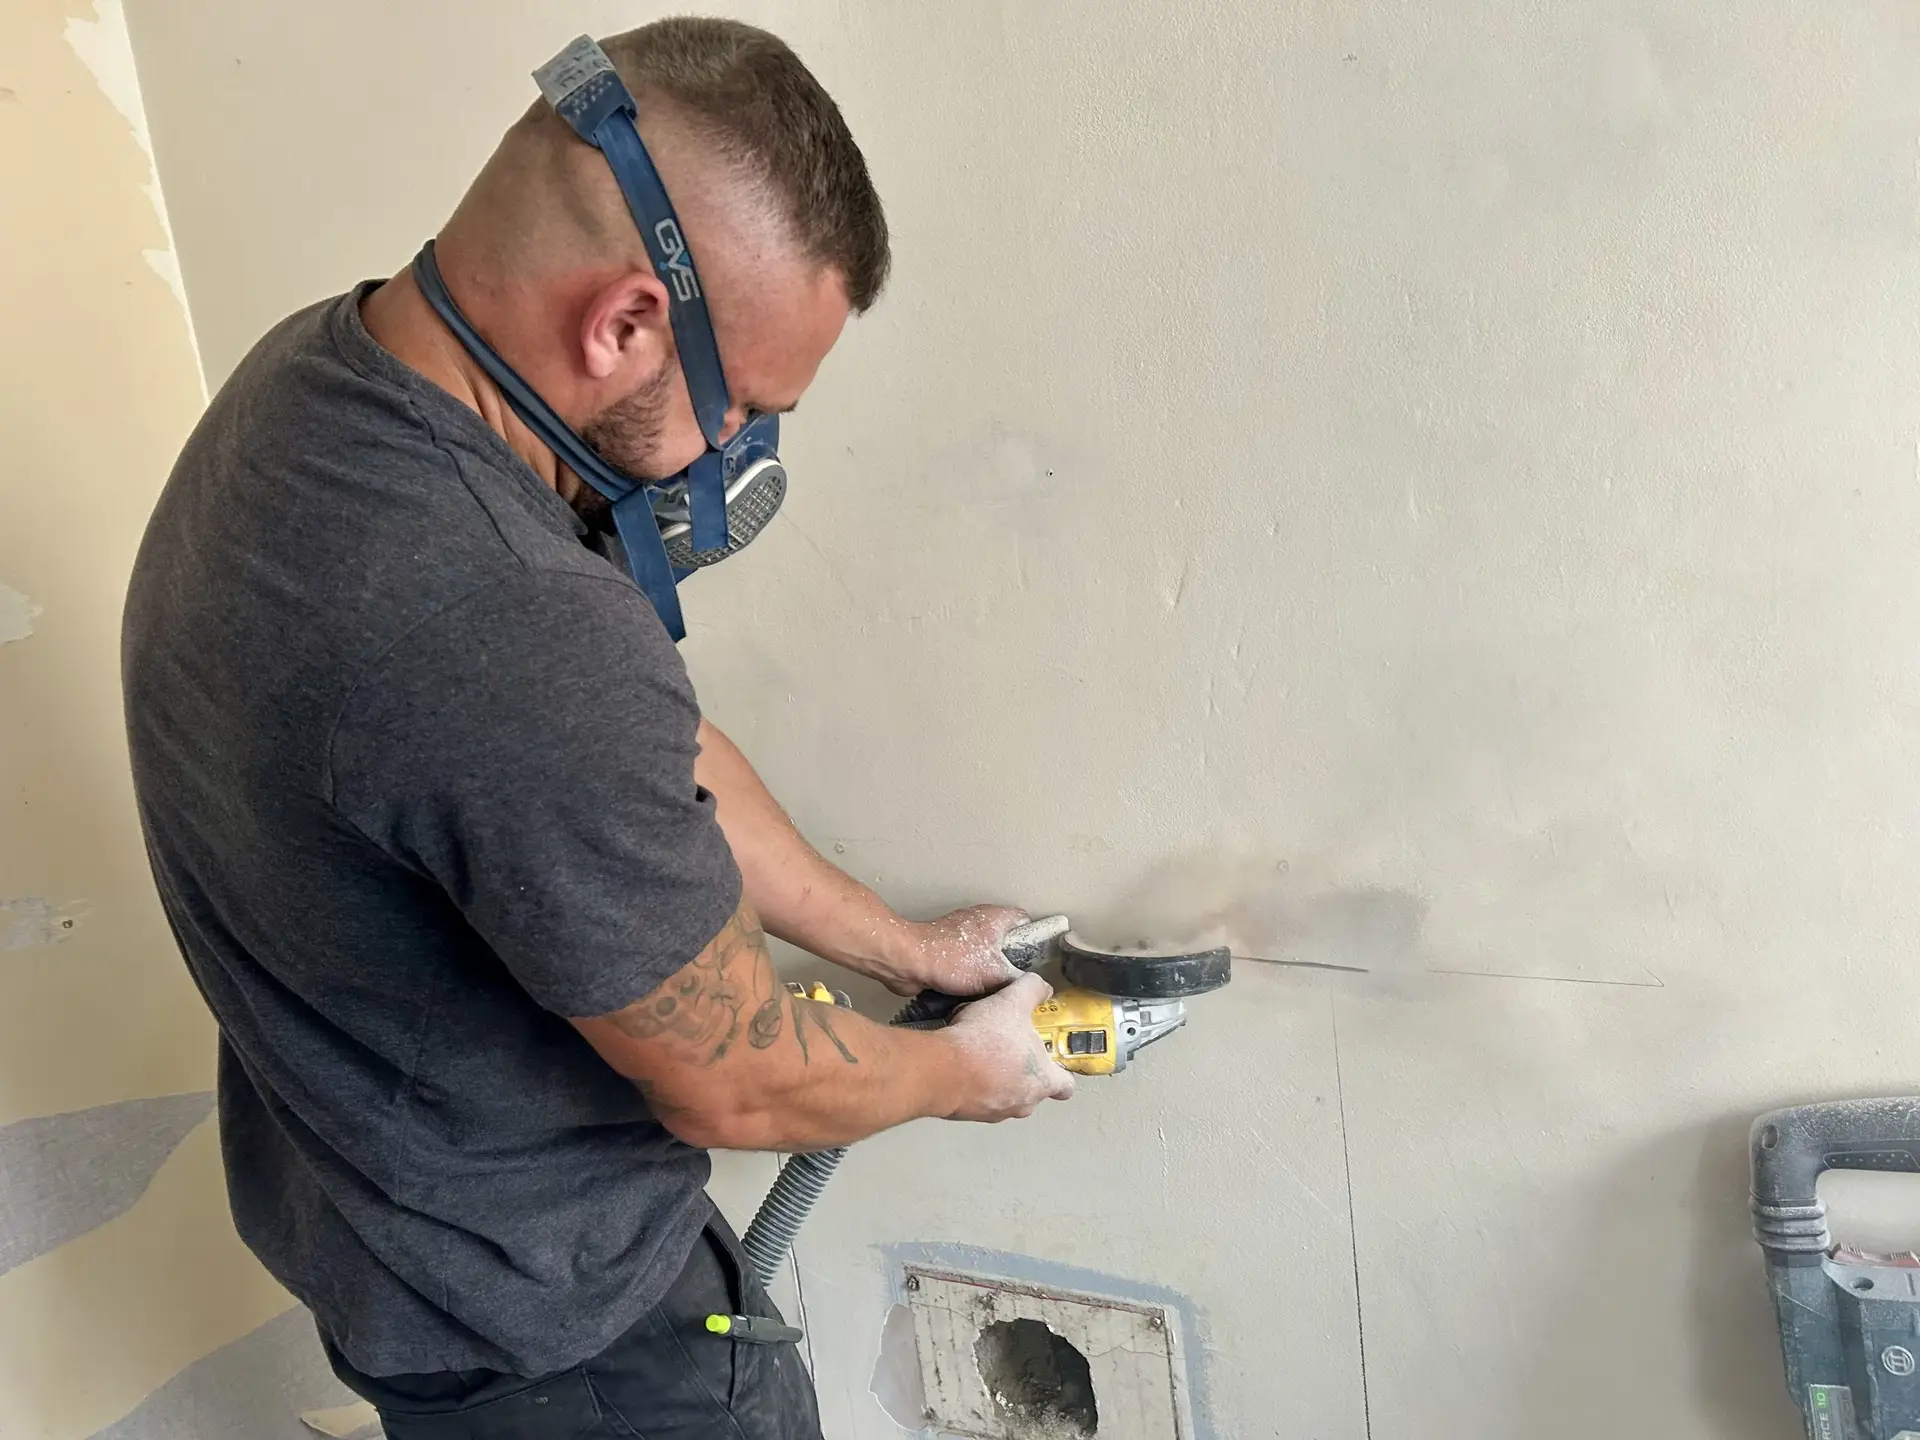
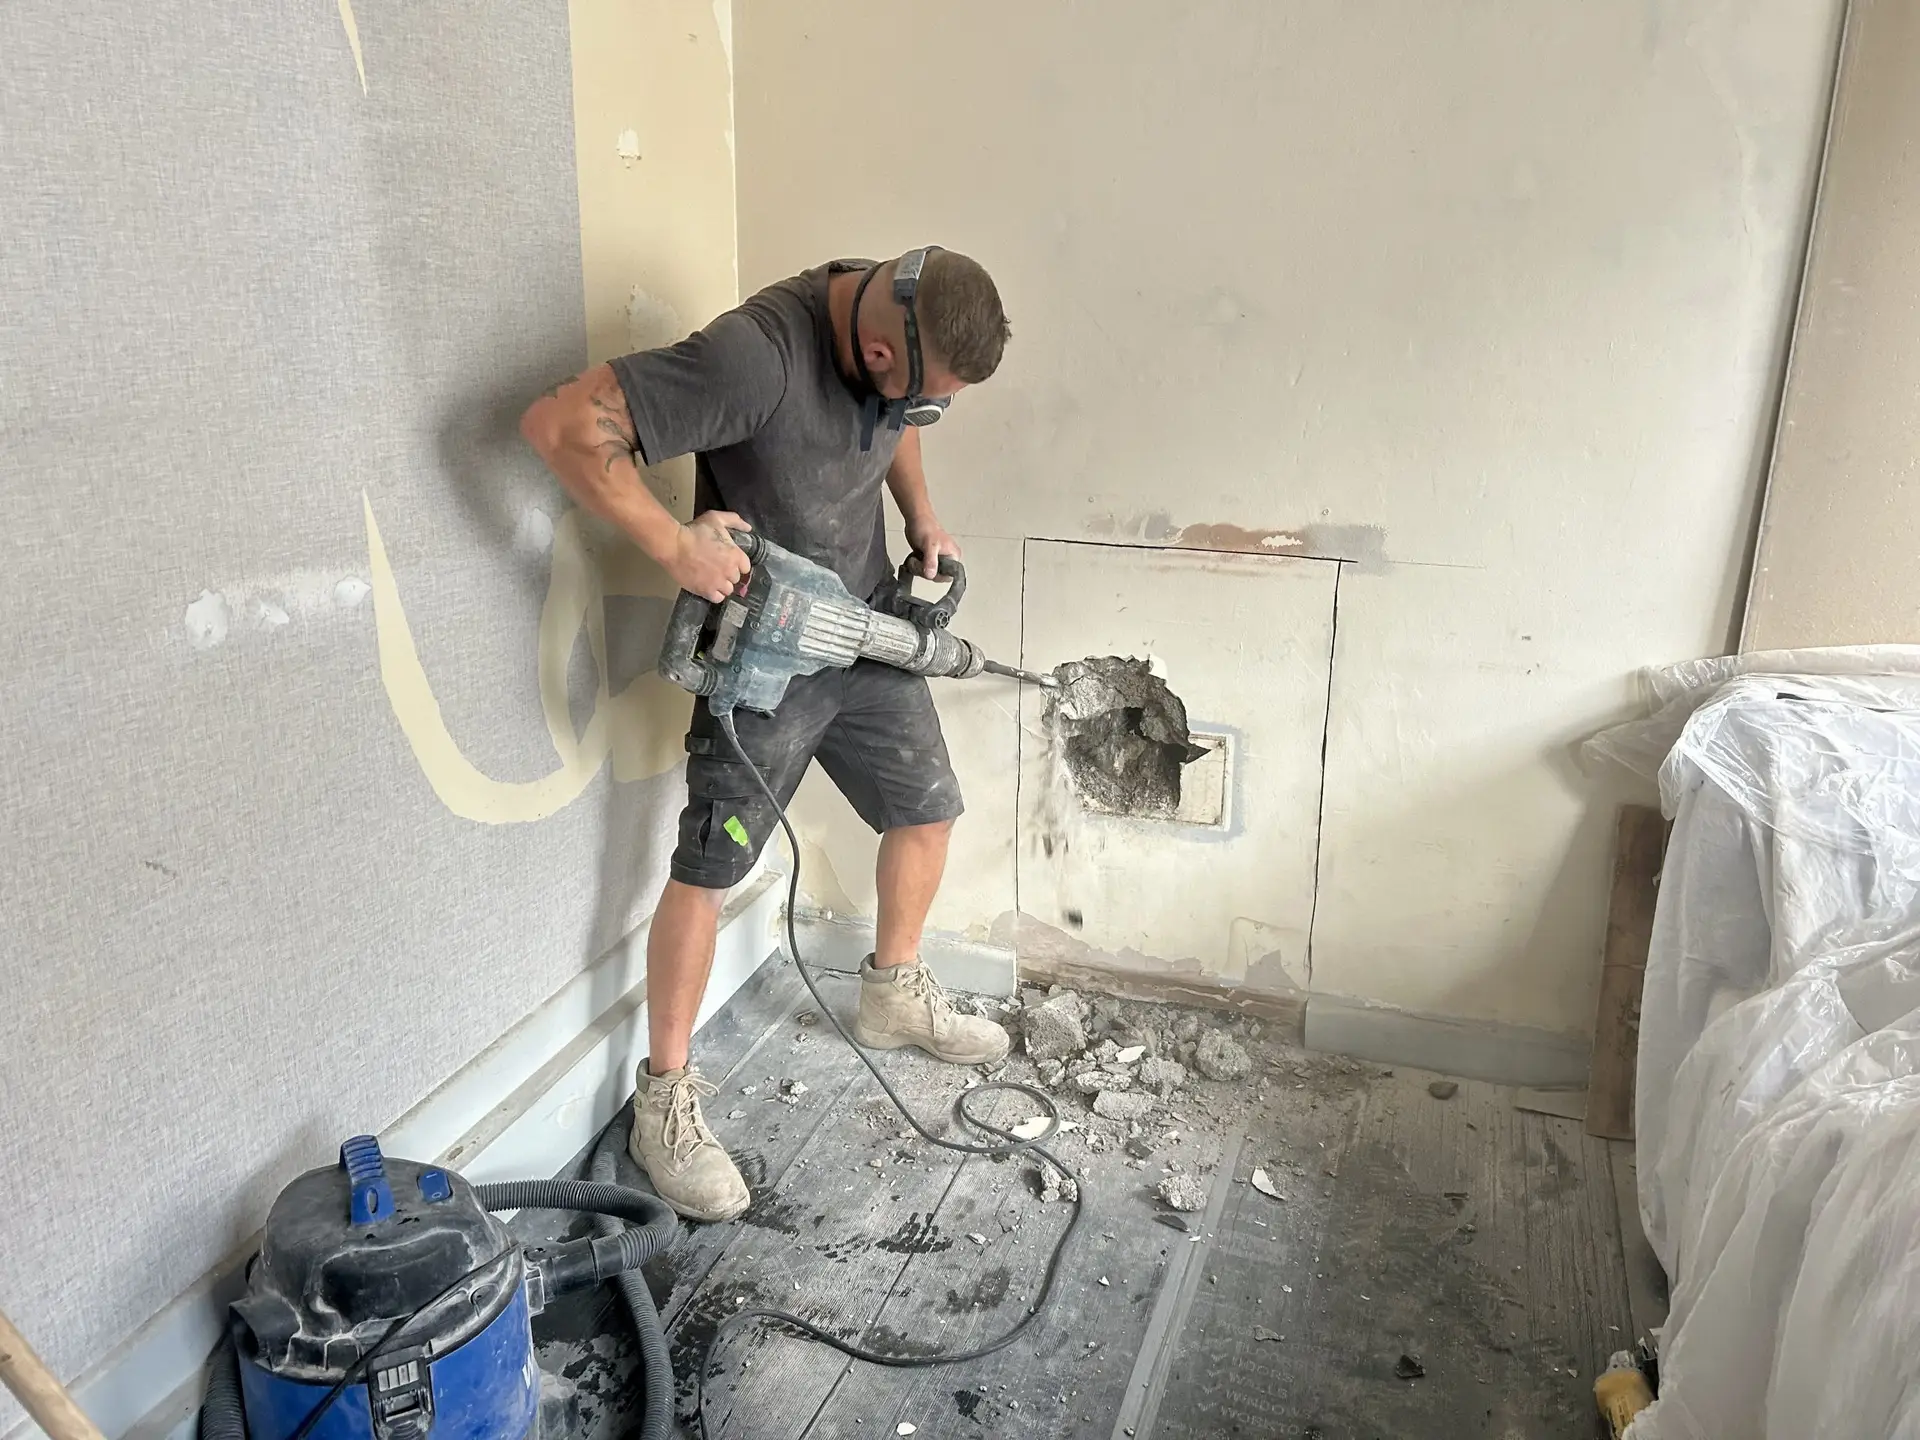
Opening a blocked-up fireplace usually starts with removing plasterboard or metal plates. In some cases we’ll cut a small trial hole to check what’s behind before opening it up fully. Expect dust, rubble, and debris – it’s a messy stage. Any rubble we uncover is bagged, placed in a dumpy bag, or removed in our van depending on the amount.

What We Typically Find

Best case

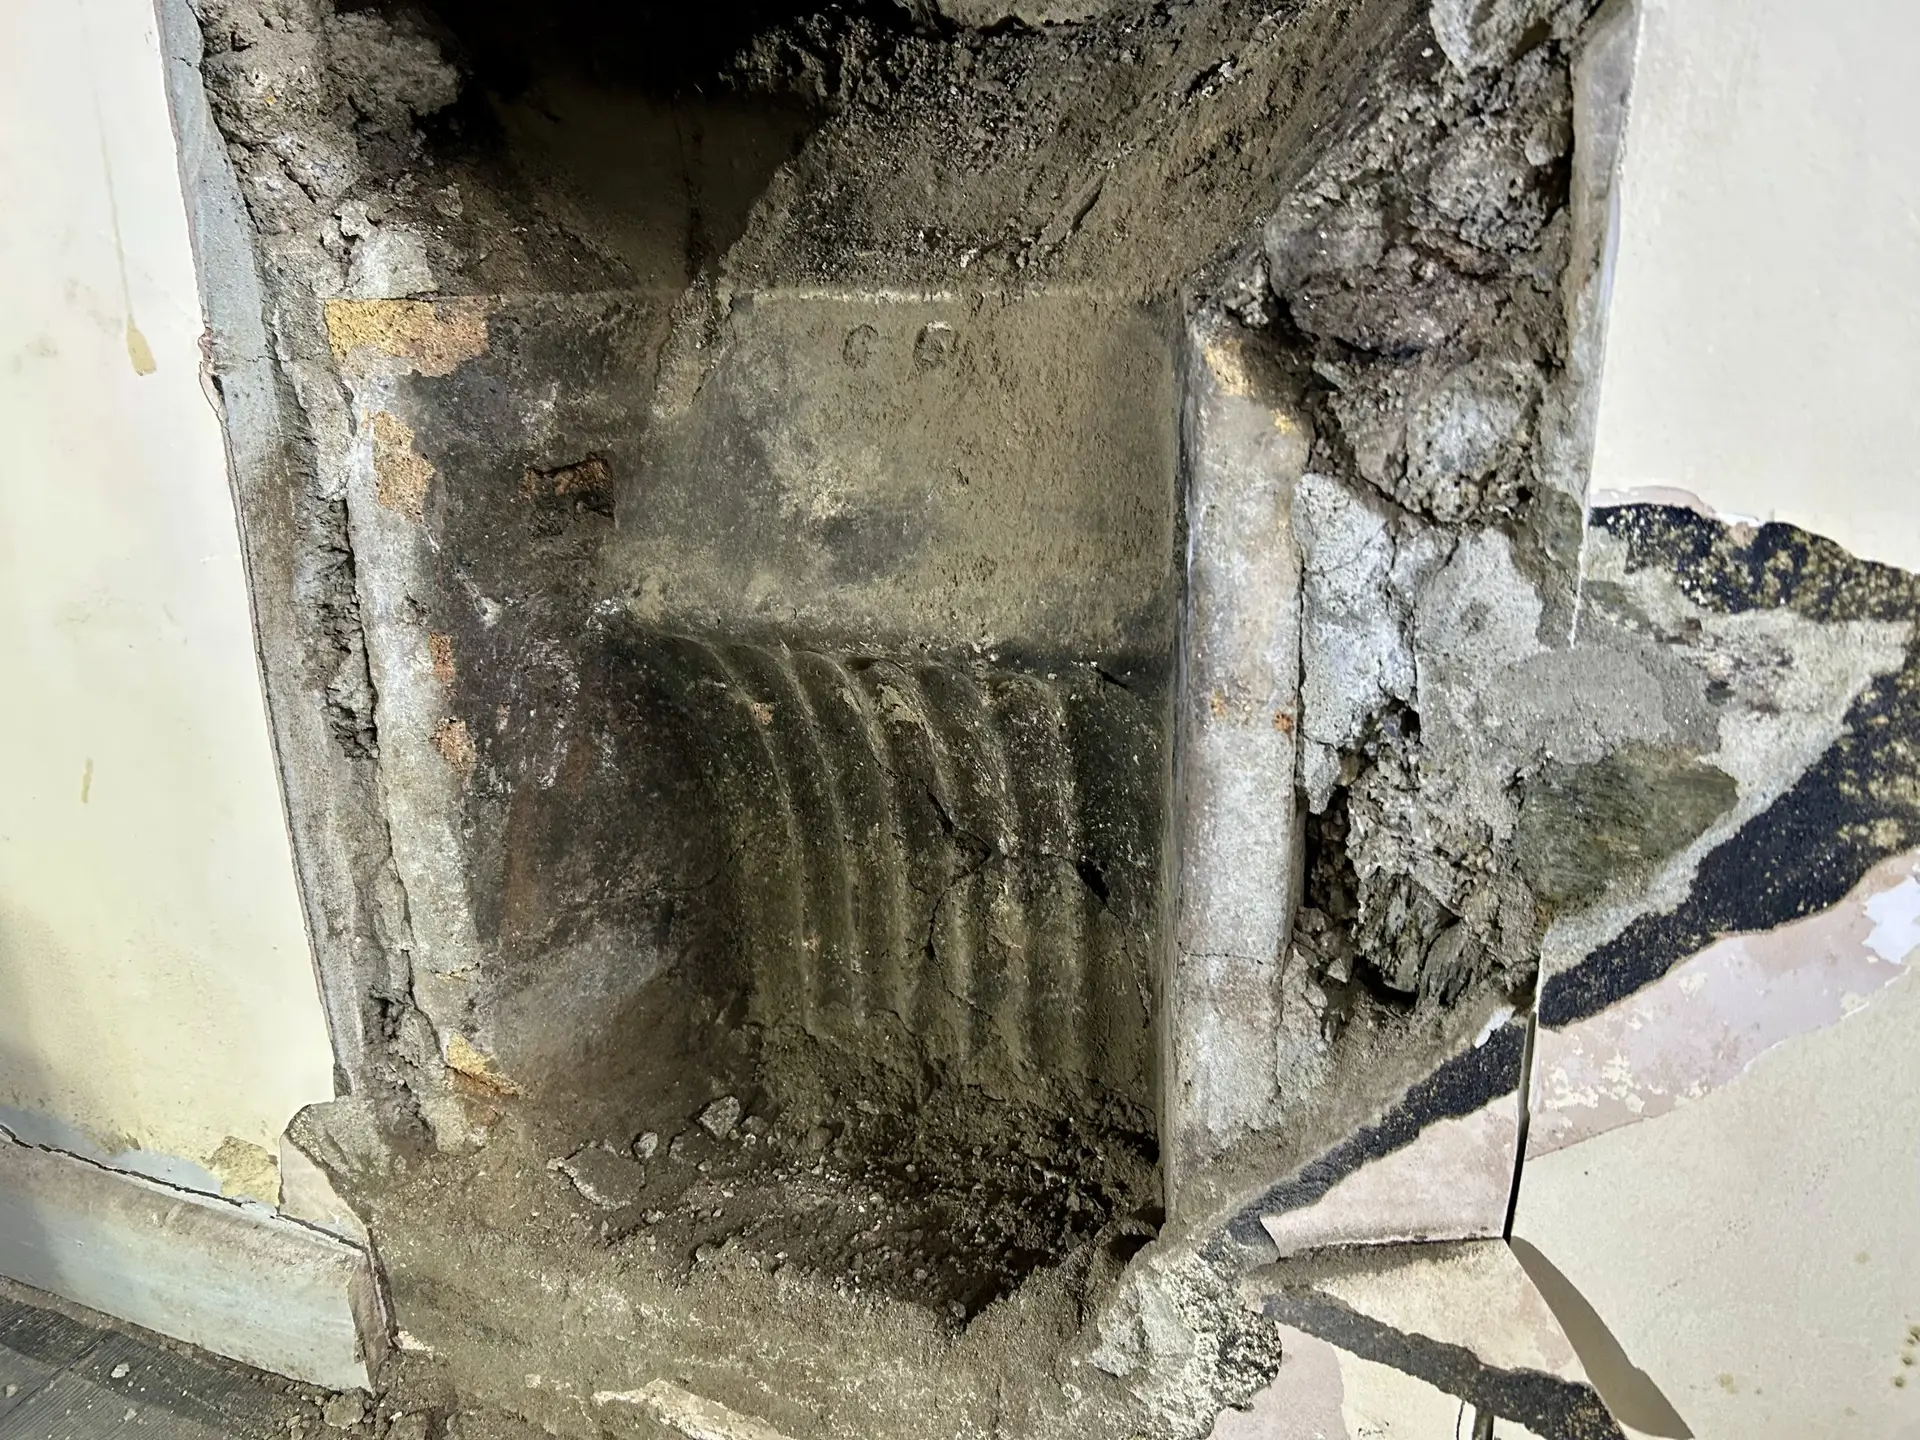
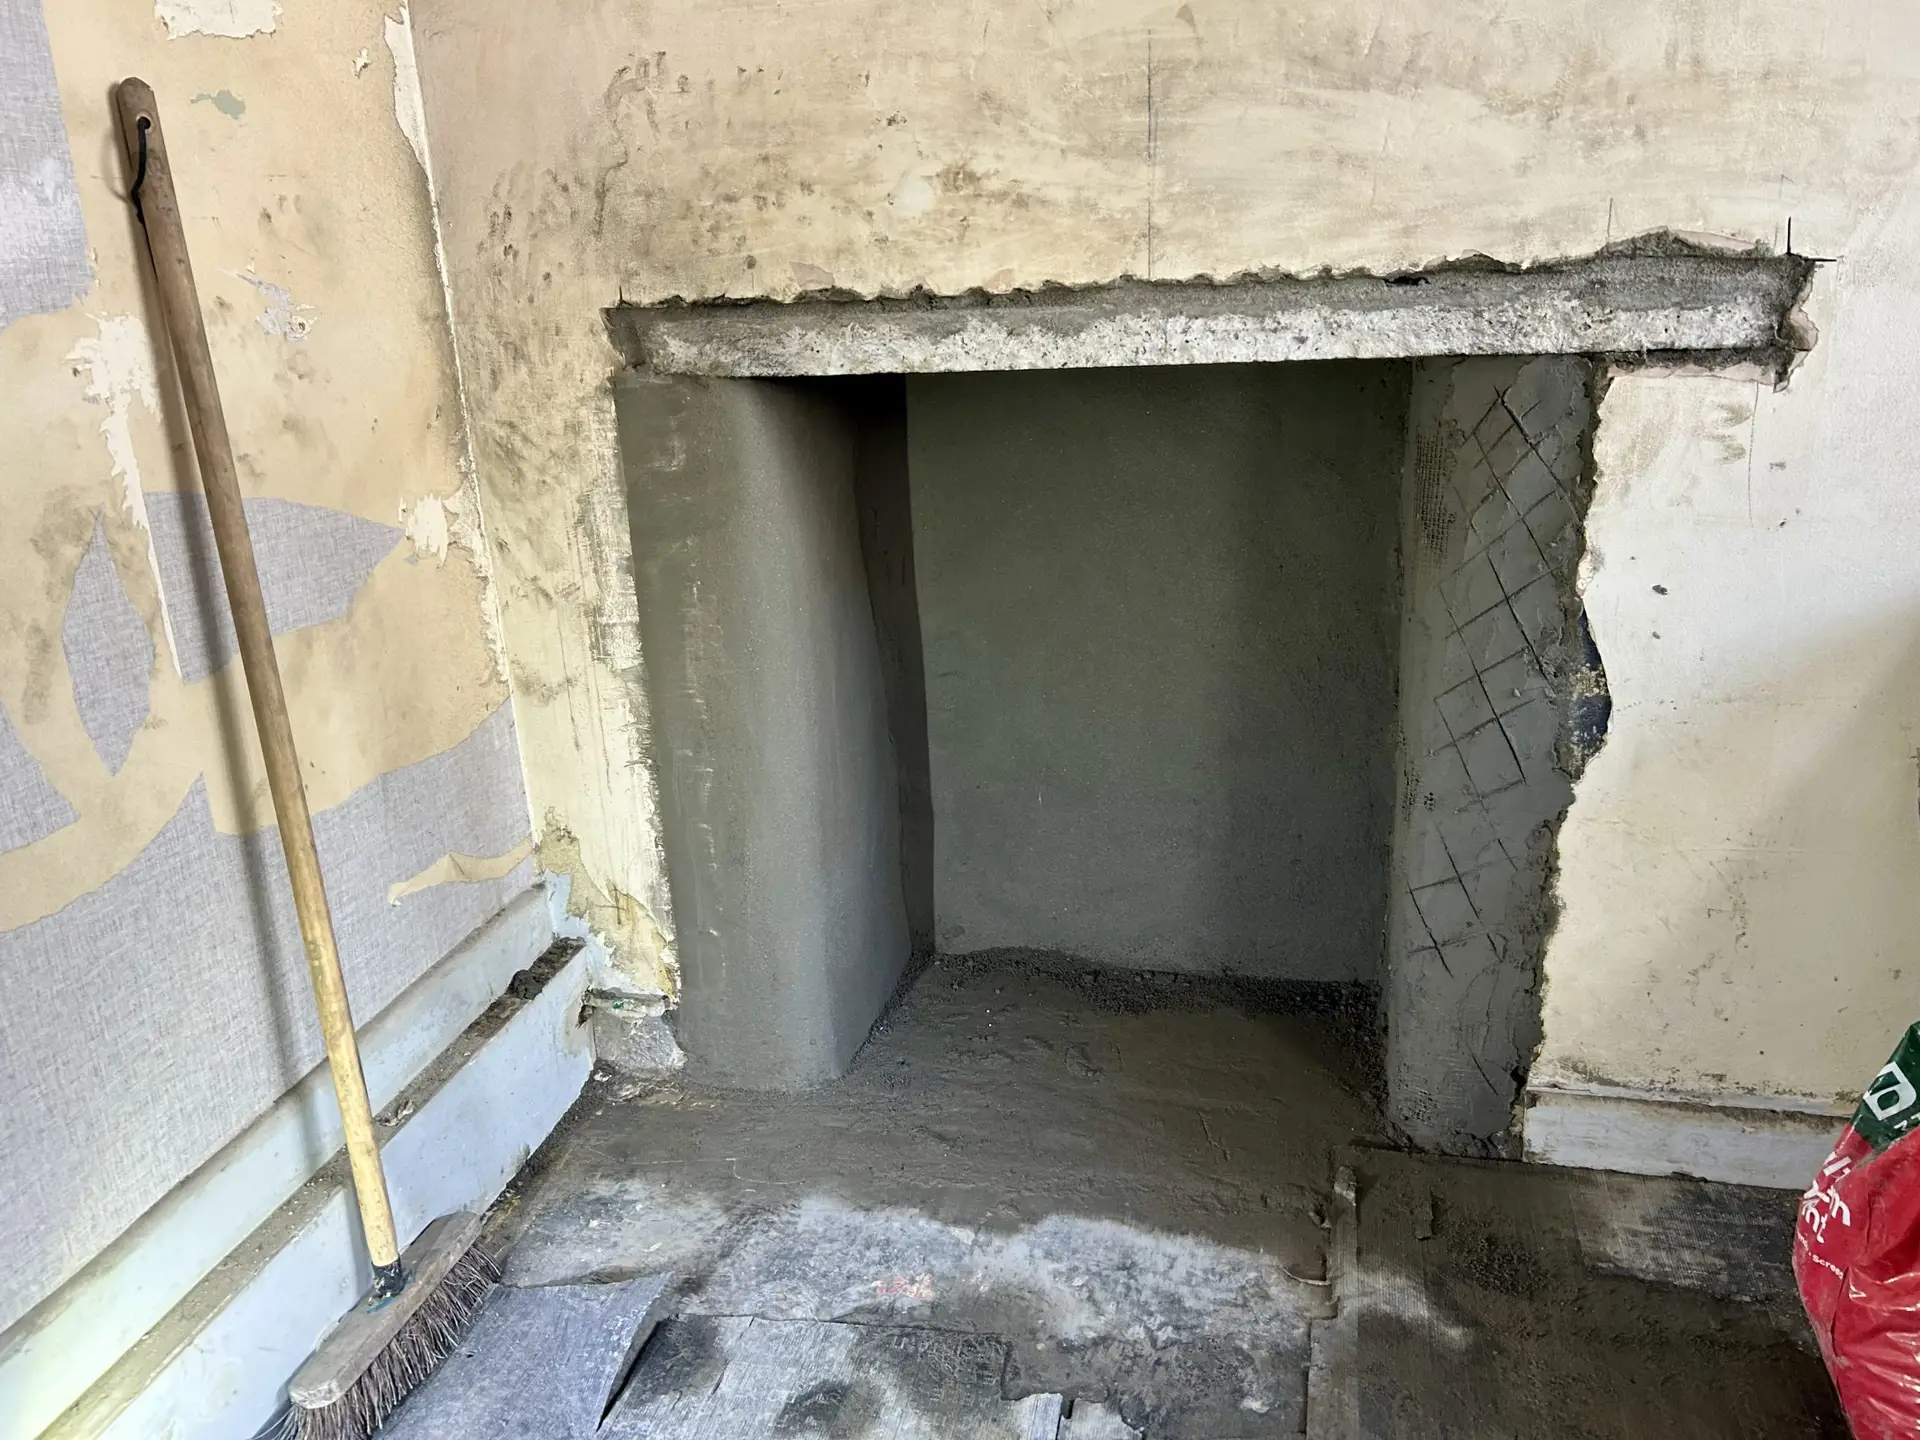
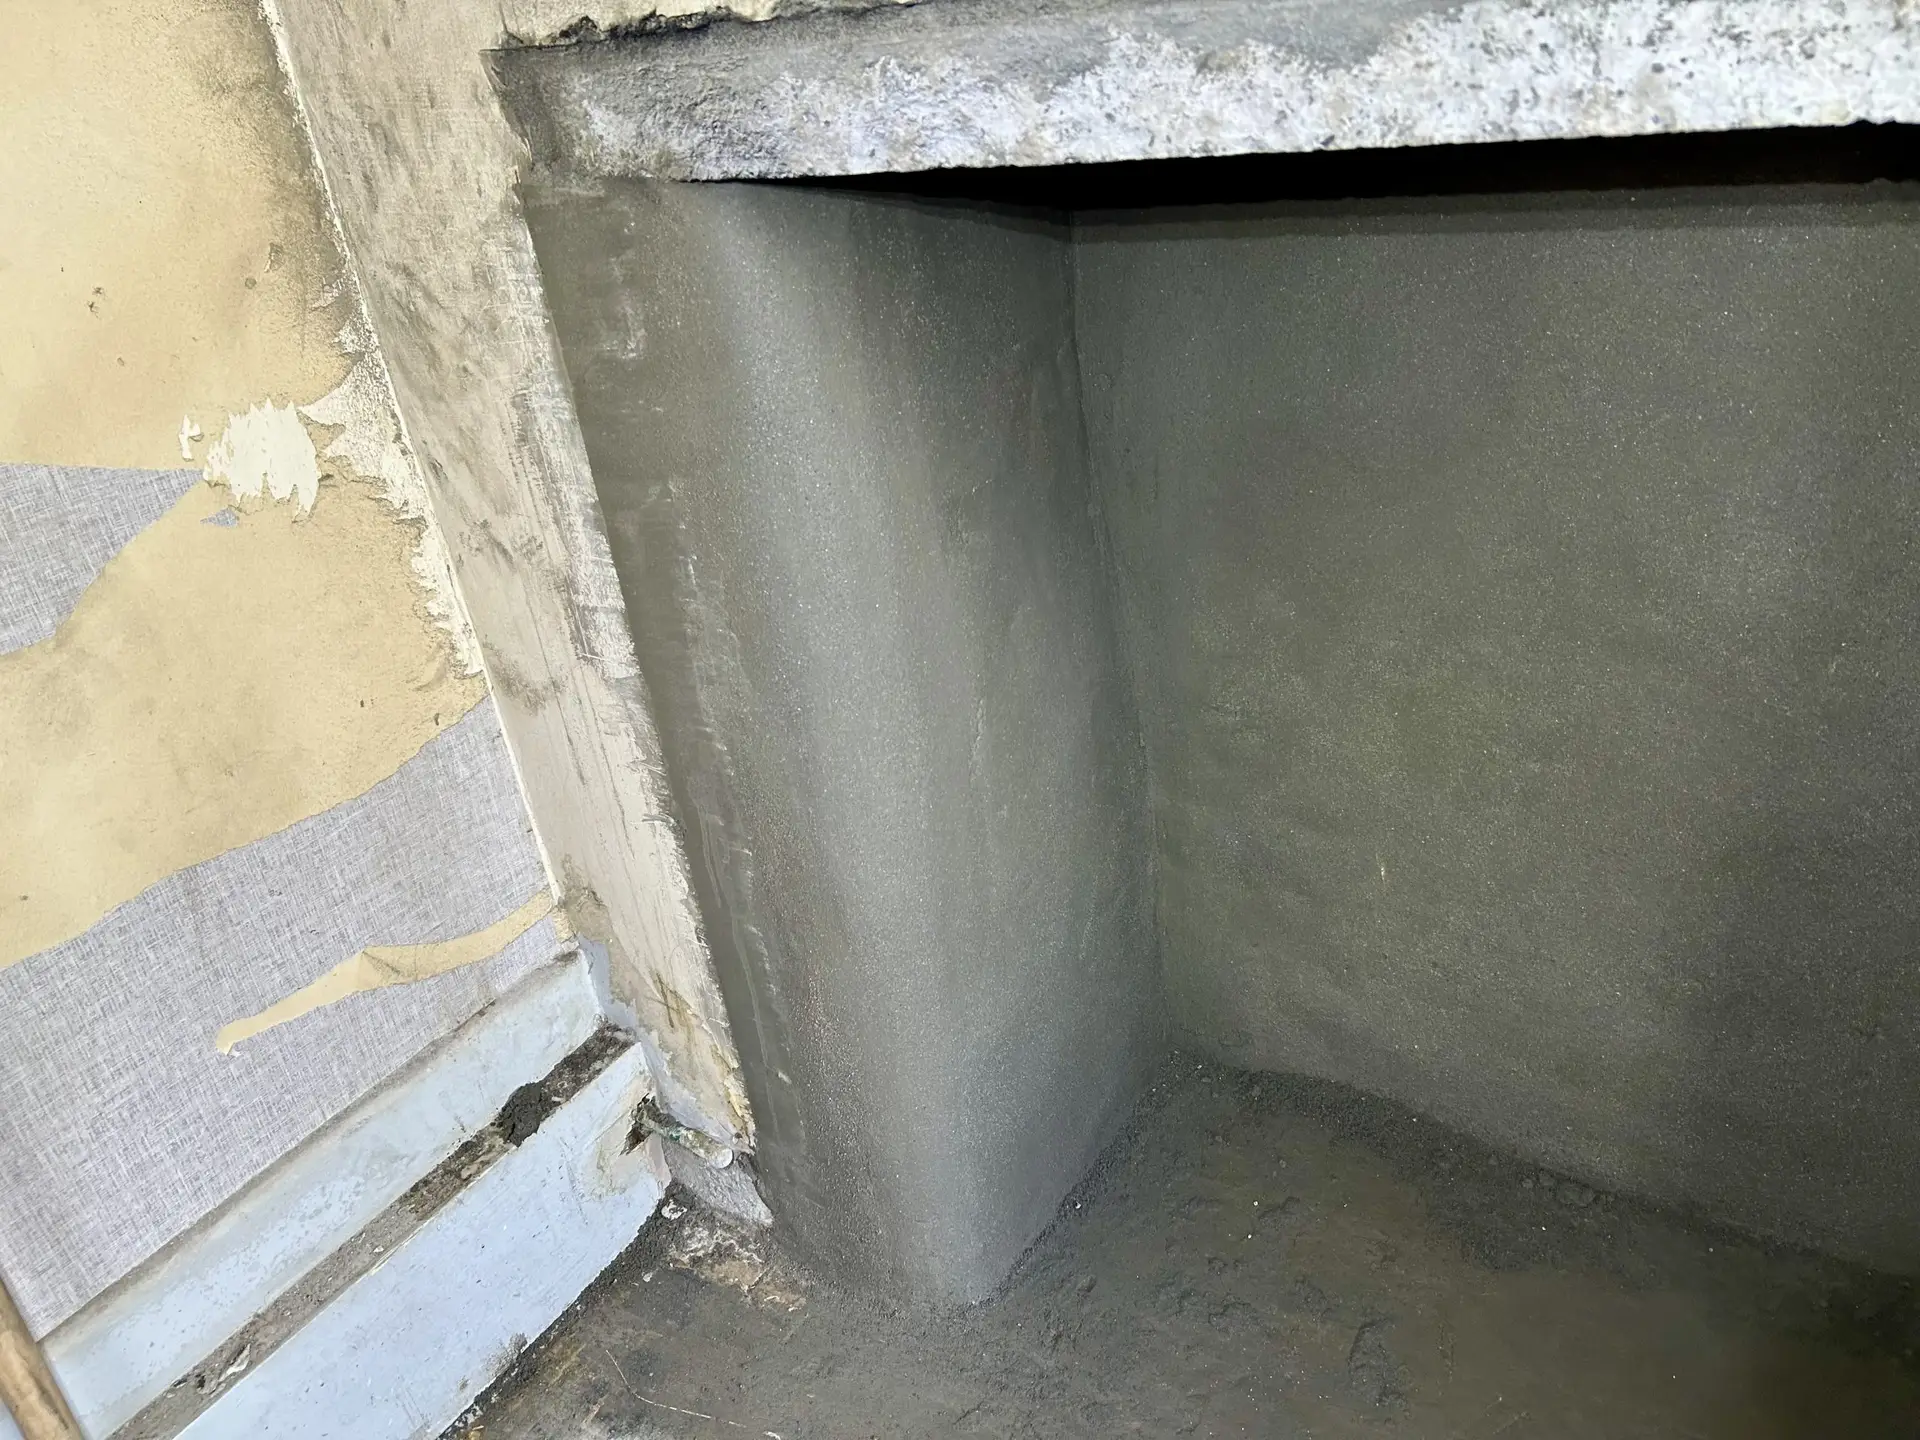
  • A builder’s opening in decent condition that just needs cleaning and rendering.
  • This may still be too small for the preferred or chosen stove, so we’ll often consider enlarging it.


Common case

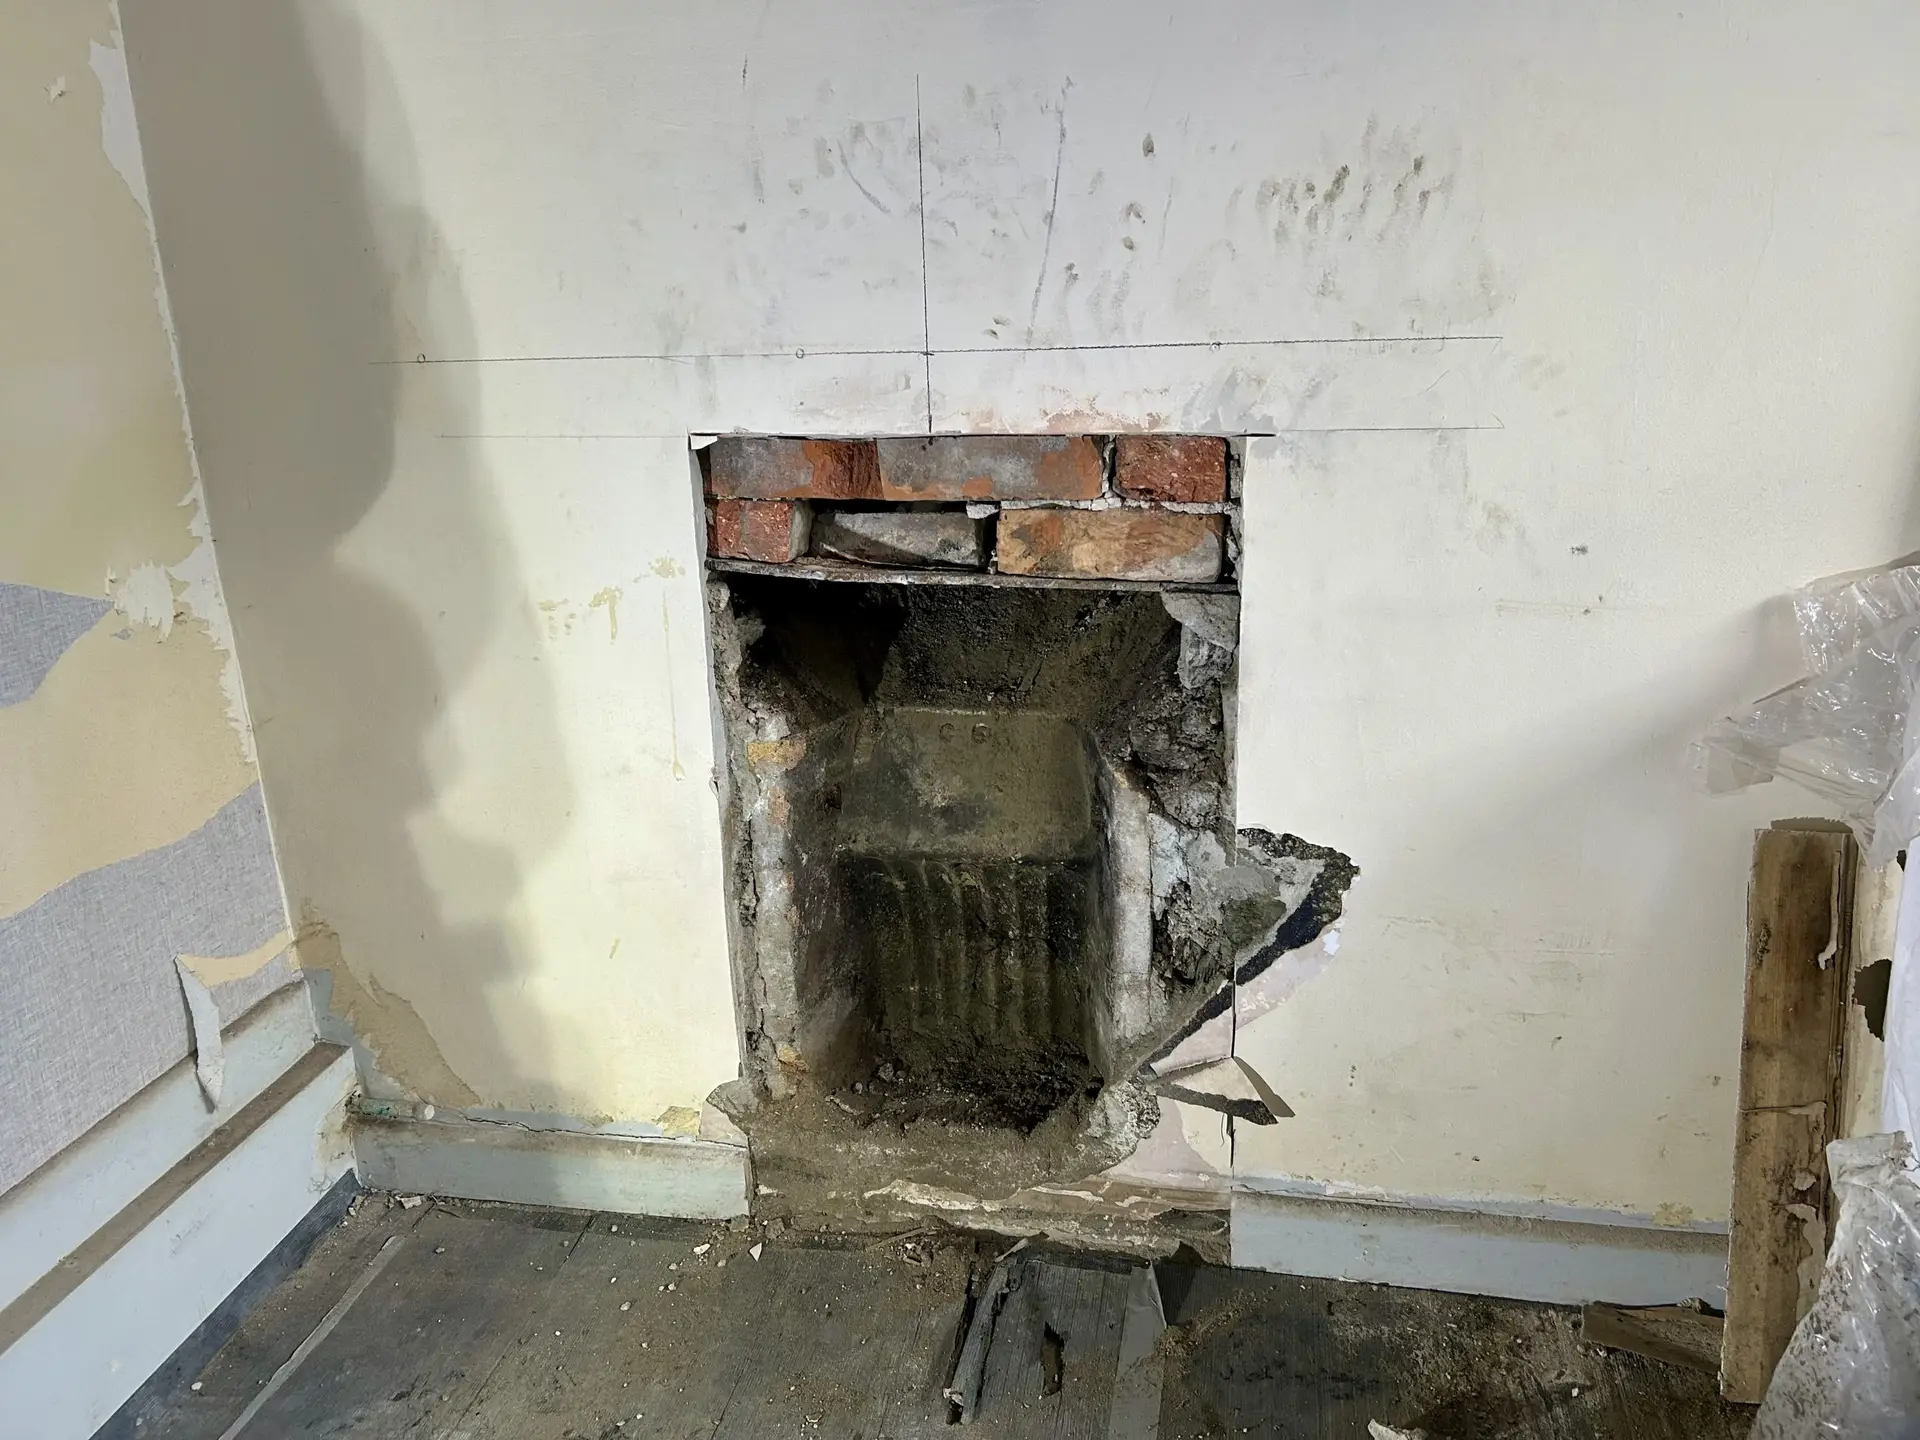
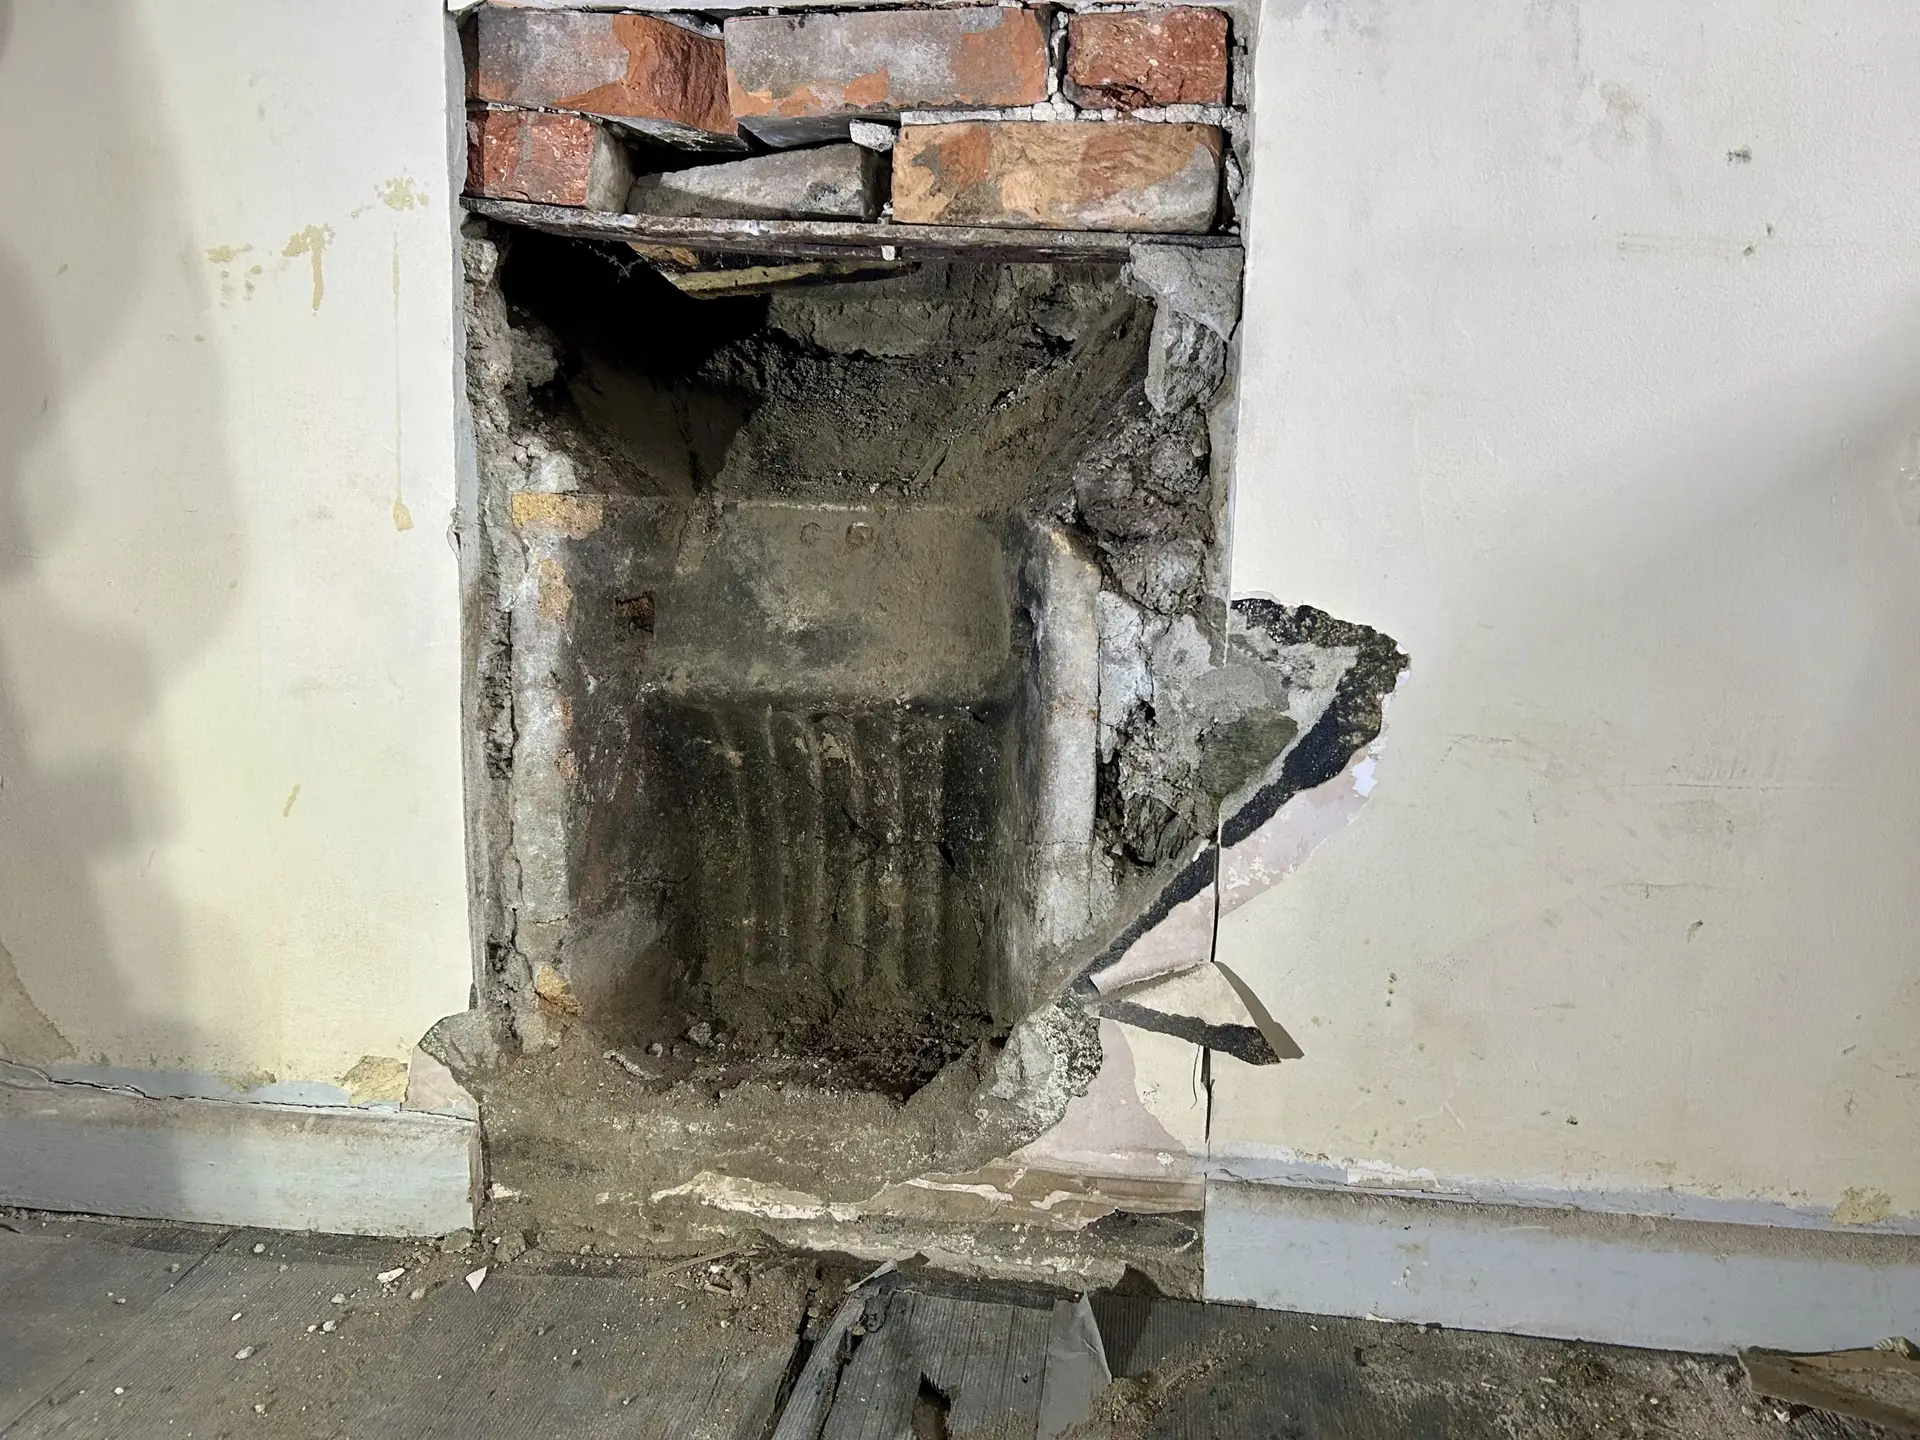
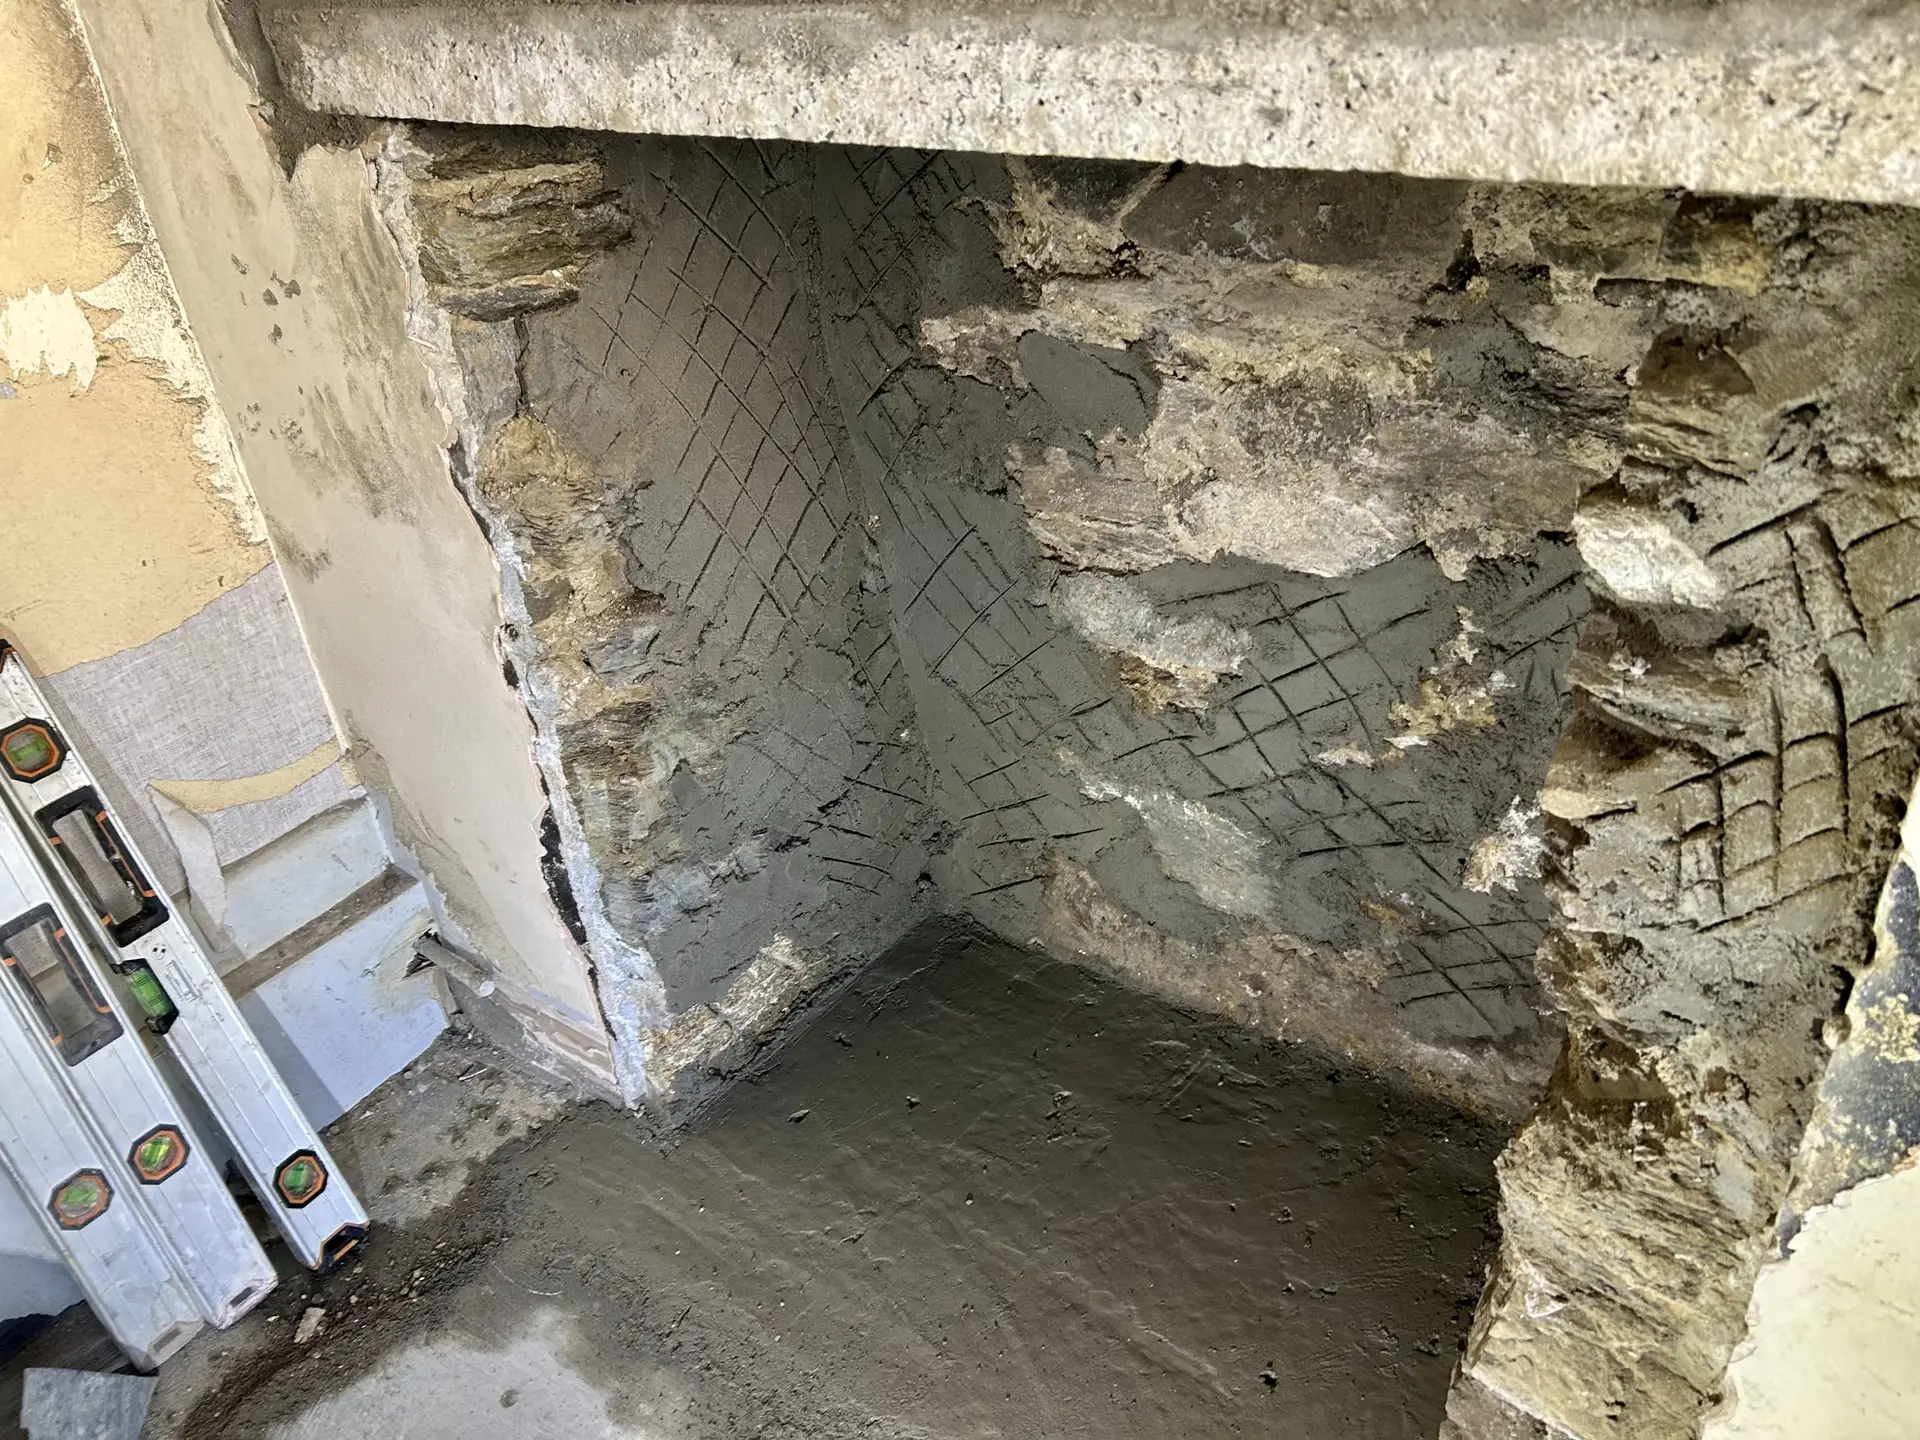
  • An opening that’s been bricked up or partly filled, which needs a full knockout.


Worst case

  • We uncover hazards or live services (such as gas, electrics, or old back boilers) that require another tradesperson to deal with. These fall outside our remit, but we’ll always flag them clearly and advise on the right route forward.

Challenges

Hidden fireplaces can throw up a few surprises, such as:

  • Loose rubble fills that collapse out unexpectedly.
  • Damp patches inside the chimney breast.
  • Old pipes, flues, or even back boilers left behind in the void.
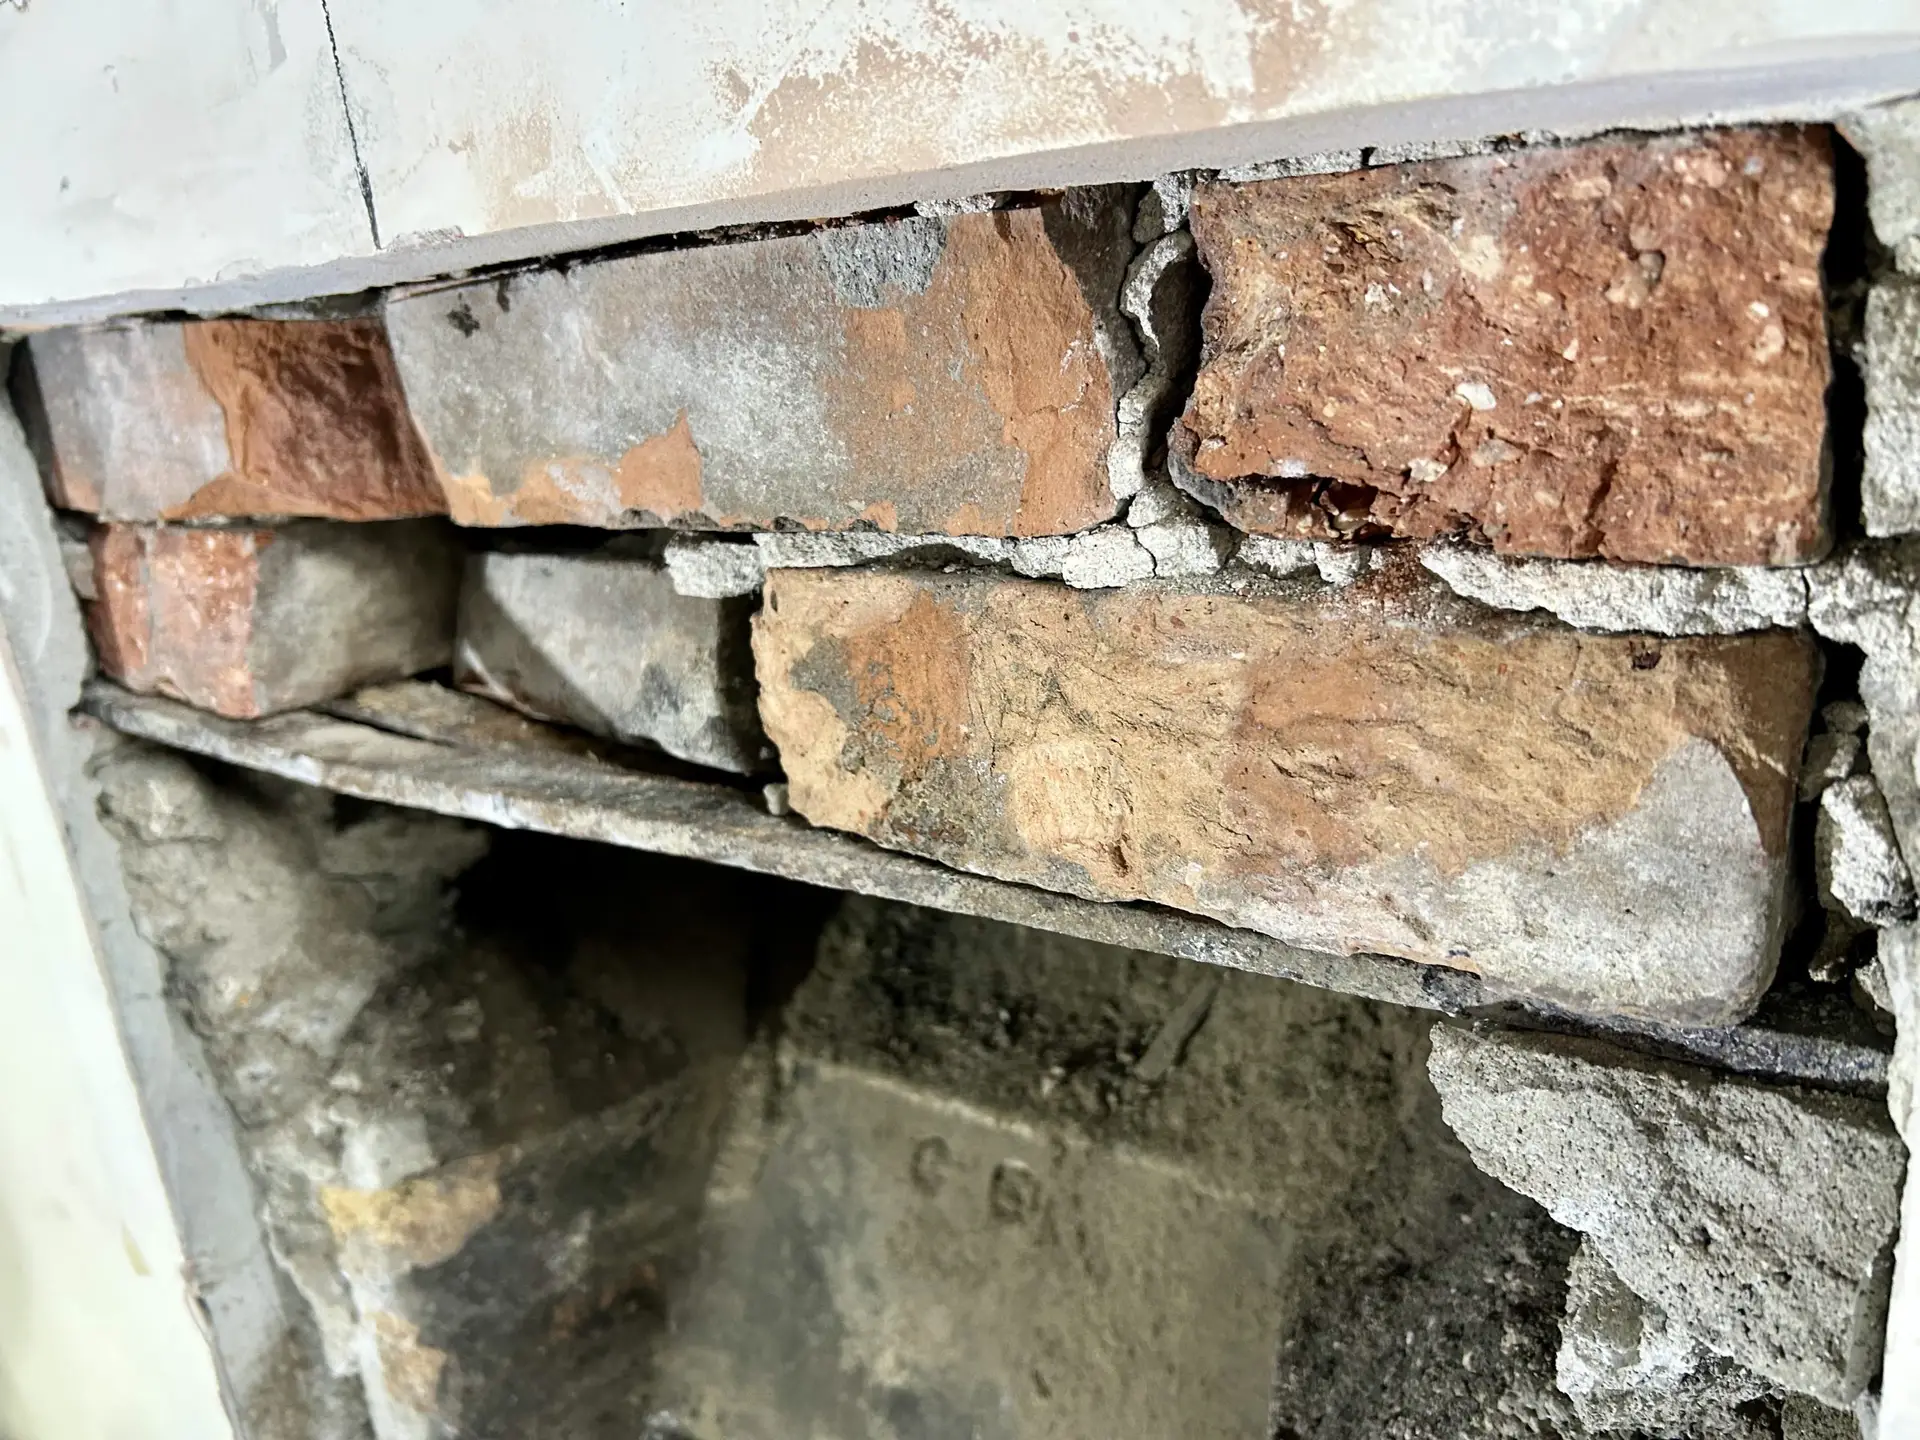
  • Poorly bricked-up openings or unsupported masonry that need making safe.

Next Steps Once Uncovered

What happens next depends on what we find:

  • If the space is usable and large enough, we clean it up, prepare it, and move on to hearth and rendering.
  • If it’s too small or damaged, we enlarge it and fit a new lintel.
  • If nothing useful exists, we’ll discuss creating a false chimney breast to house your stove. This is rare.

Costs & Timescales

Uncovering a hidden fireplace normally reveals a builder’s opening.

Costs

  • If the original opening can be reused, making good (render, skim, hearth) and fitting a small stove will typically start from around £3,700.

  • If a full knockout and enlargement are needed – usually increasing the opening from around 50cm × 60cm to 80–90cm² – full installation prices are typically £3,600–£5,000.

  • If there’s a stone façade, rubble fill, or hidden hazards (like old pipes or back boilers), uncovering will take longer and may increase costs.

Timescales

Work tends to take between 2-3 days for full completion (fireplace makeover and installation)

Summary

Every “blank wall” is different — some hide a near-perfect recess, others need a lot more work, and a few have nothing useful behind them at all. The important thing is to get the wall opened up, assess what’s there, and then decide on the best way forward.

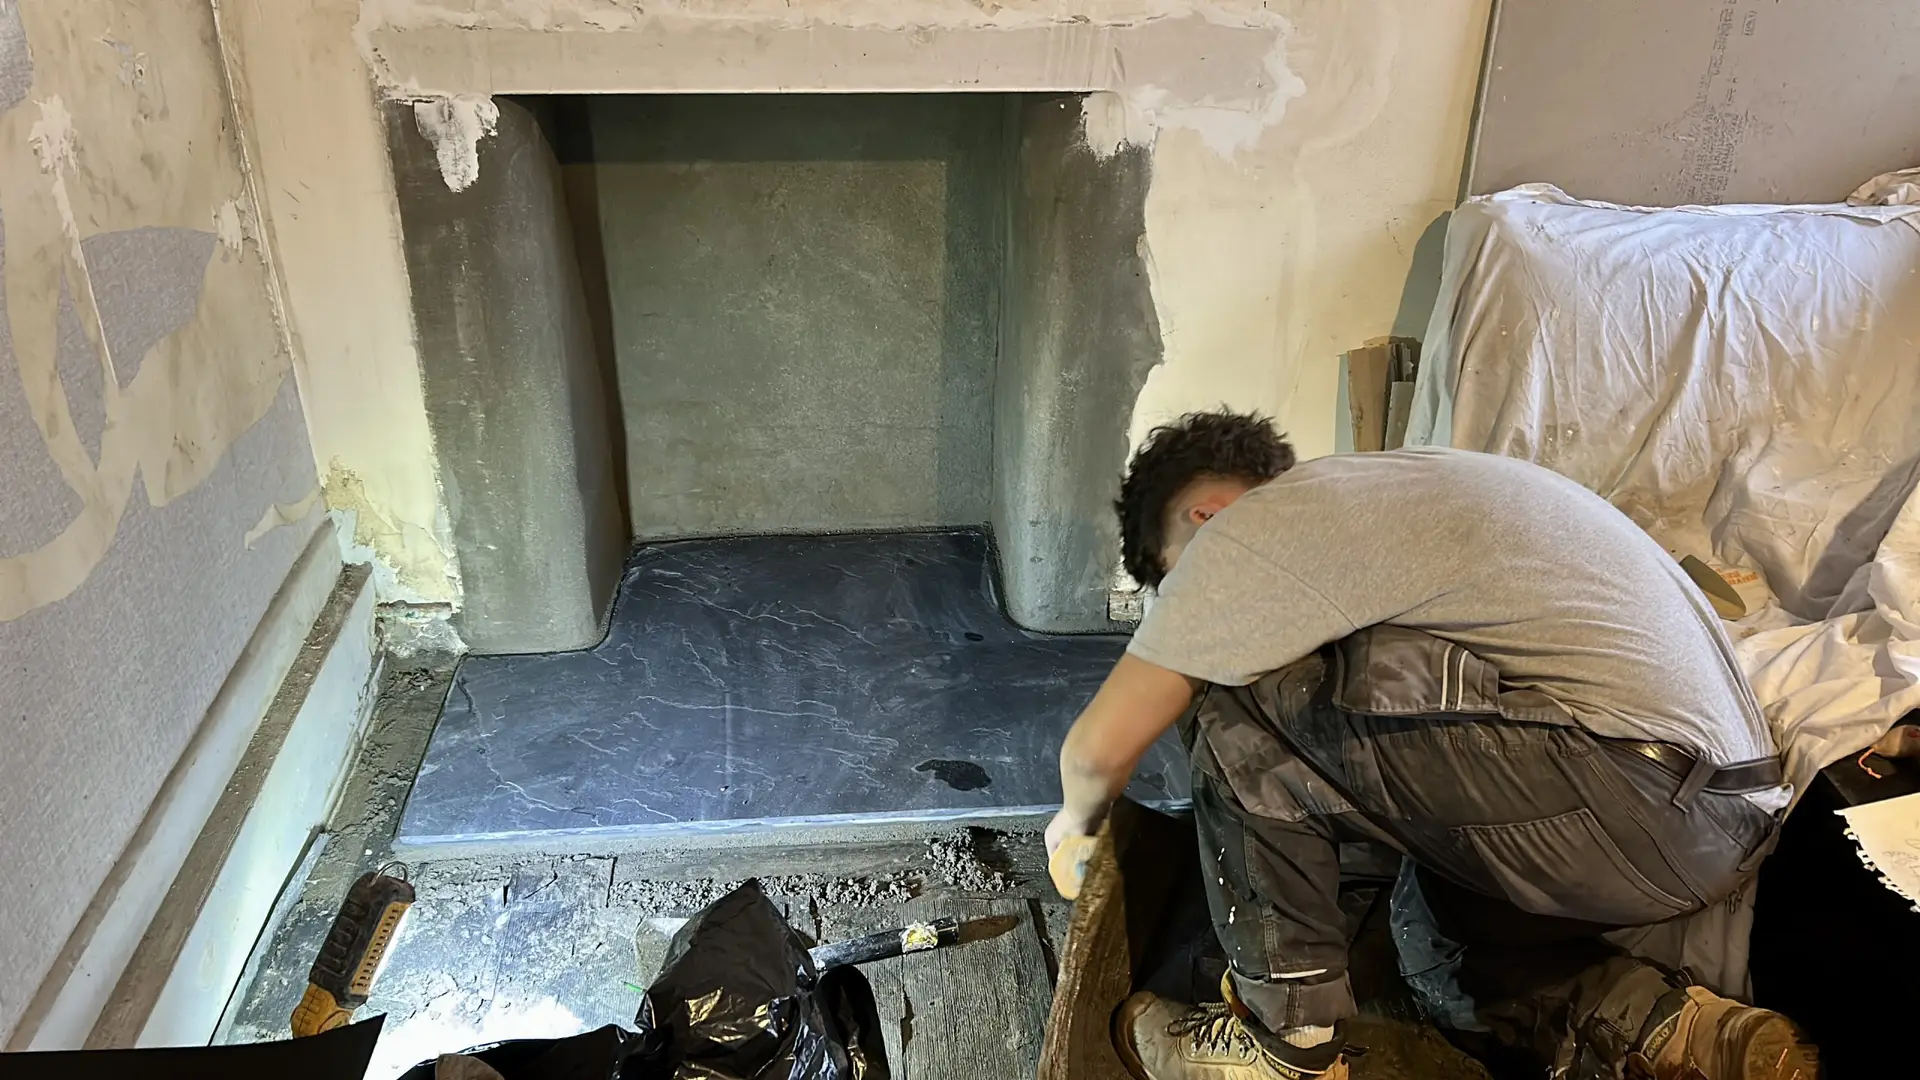
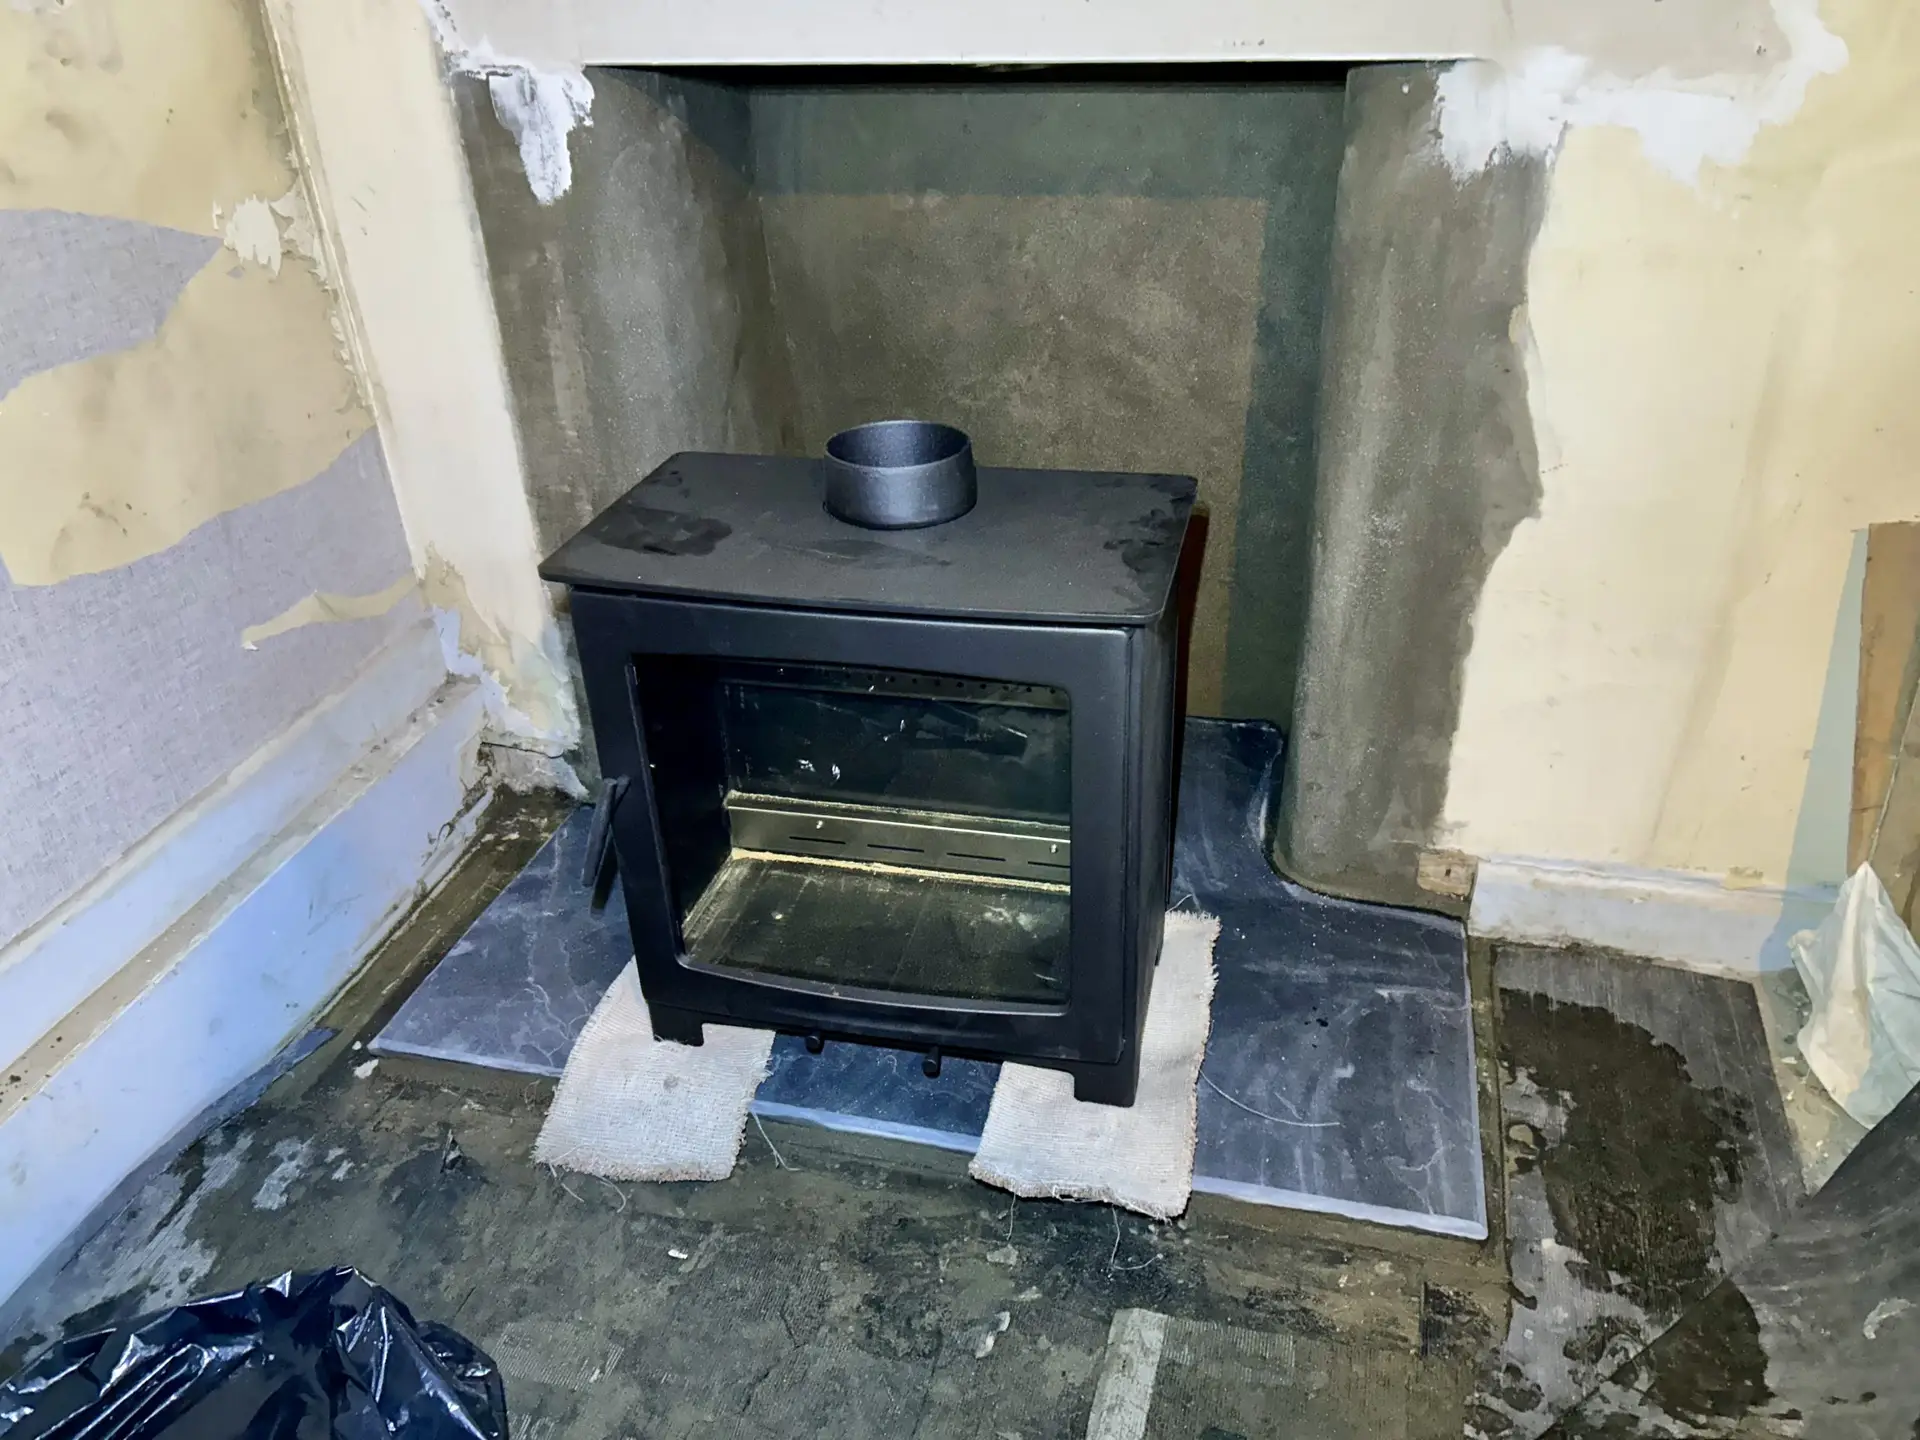
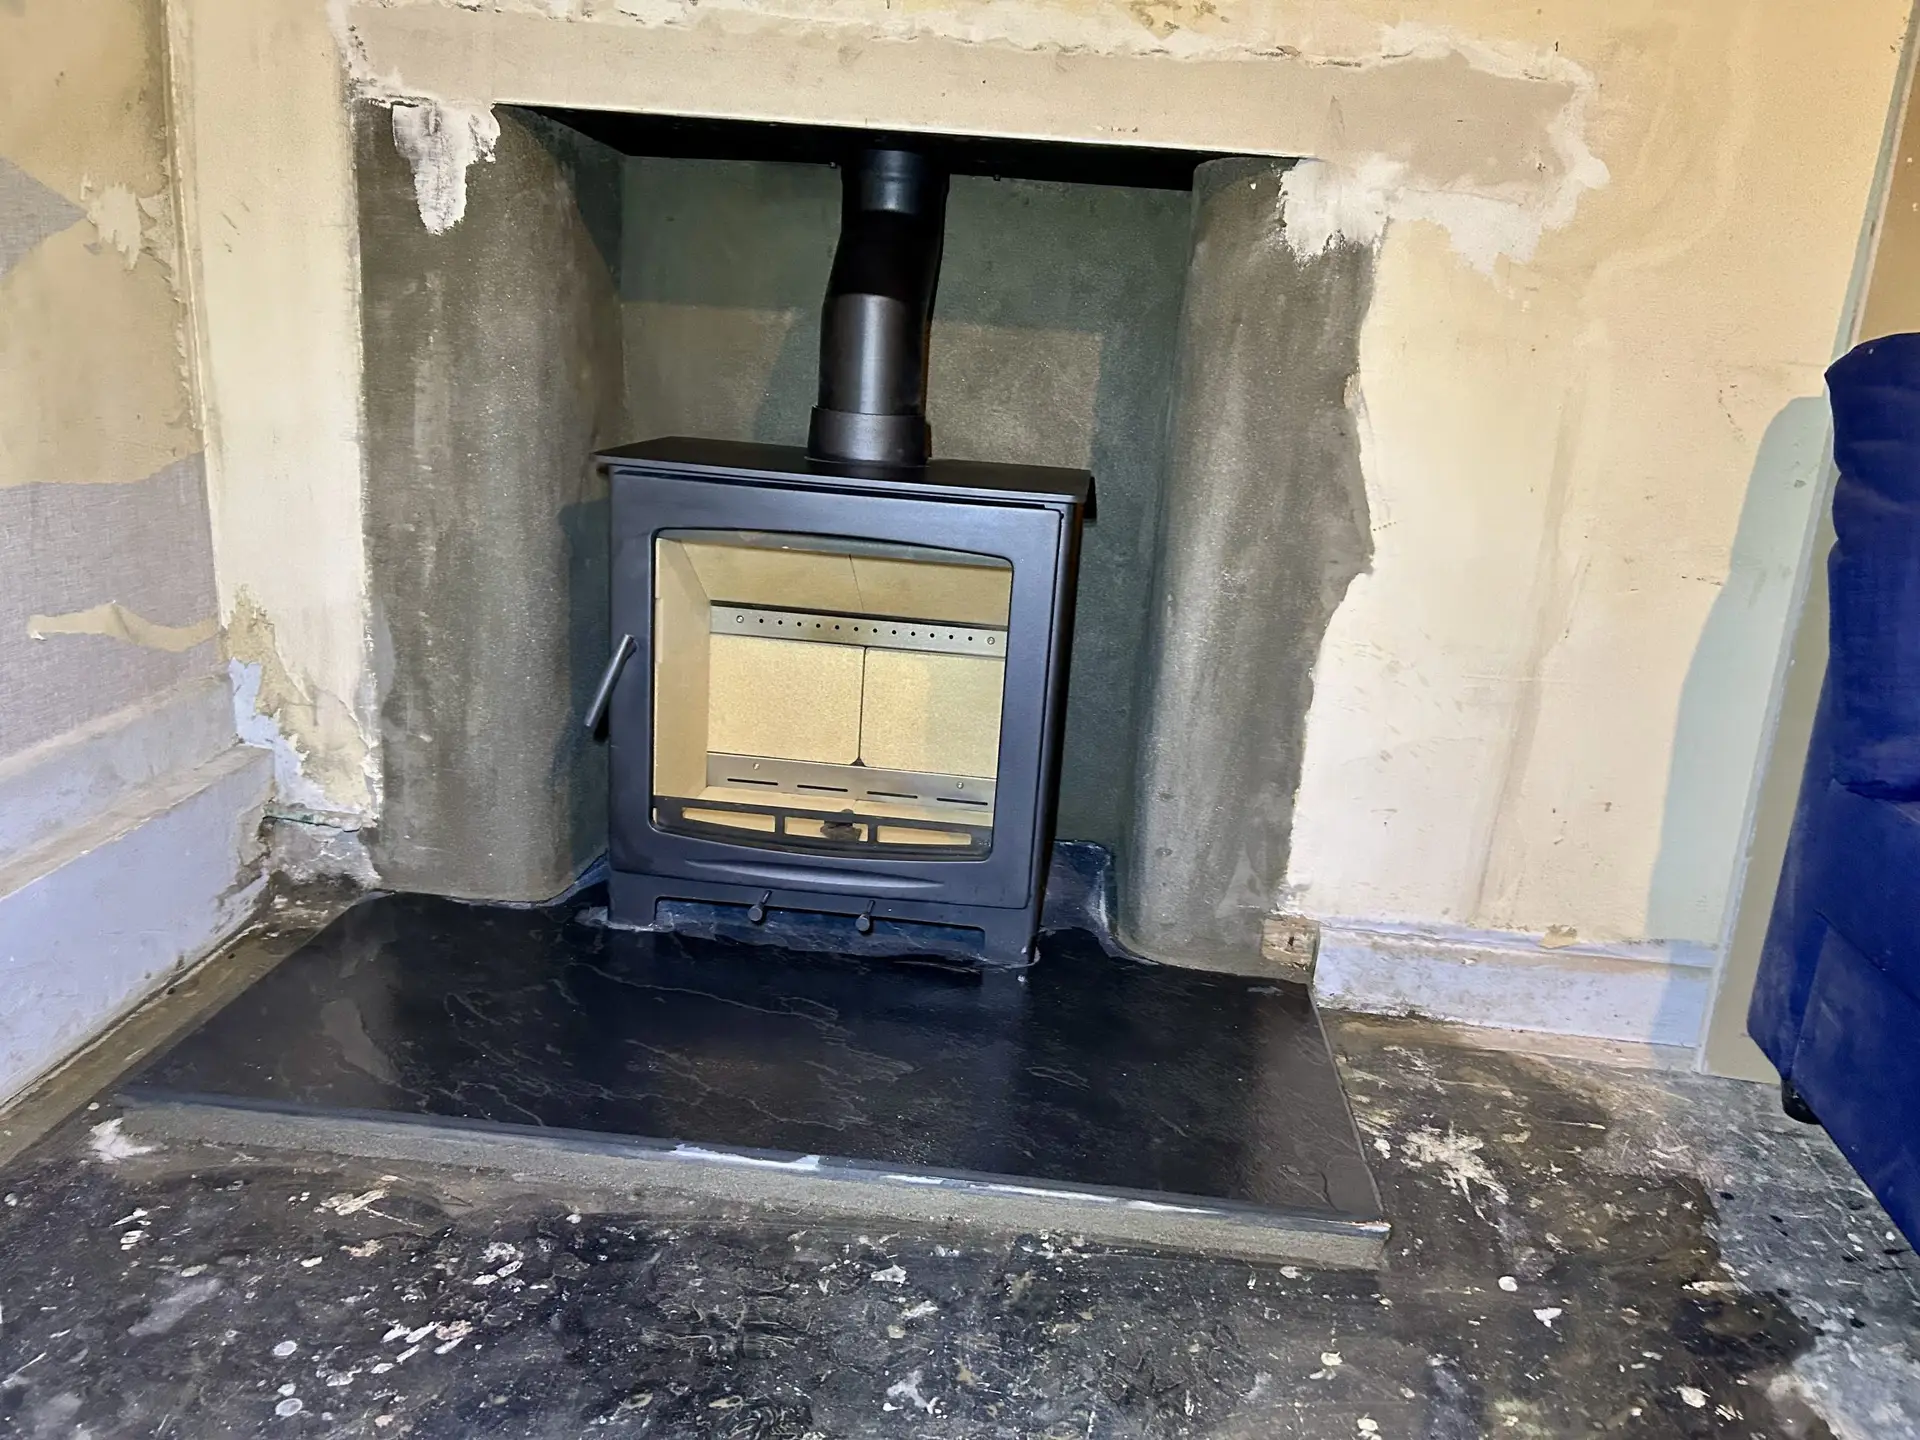
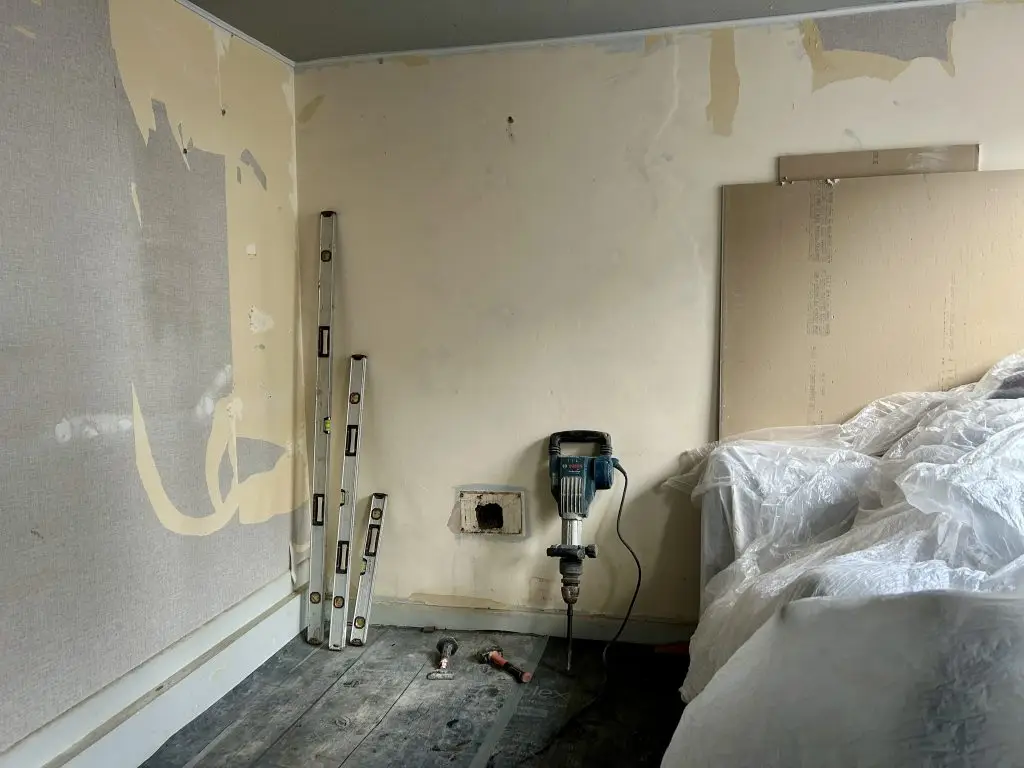
Installation notes - Photo Diary (above & below)

Room in Penryn prepared for stove installation with breaker tool set up, showing flat wall hiding fireplace before knockout begins by Blazing Burners
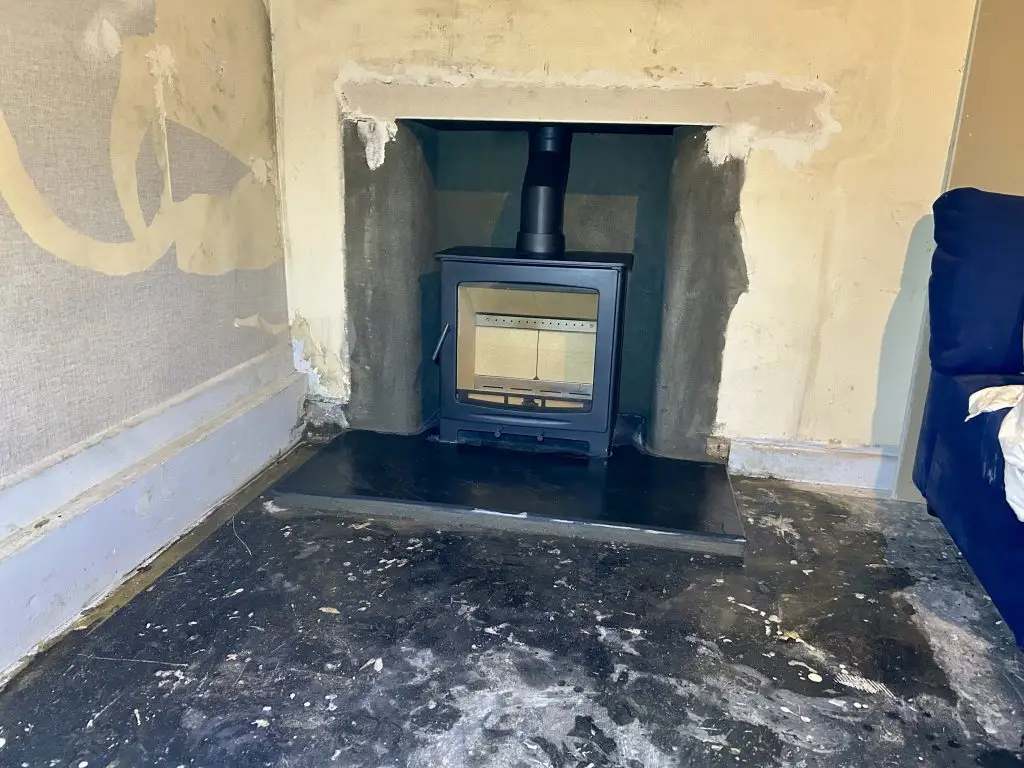
Knockout complete and fireplace modified, and Stove installed - Penryn

Completed fireplace installation with stove and slate hearth, ready for decoration. Walls to be painted and wood flooring to be laid by the customer.

Job Specification

  • This job took 2 long days, and involved 3 of us.  
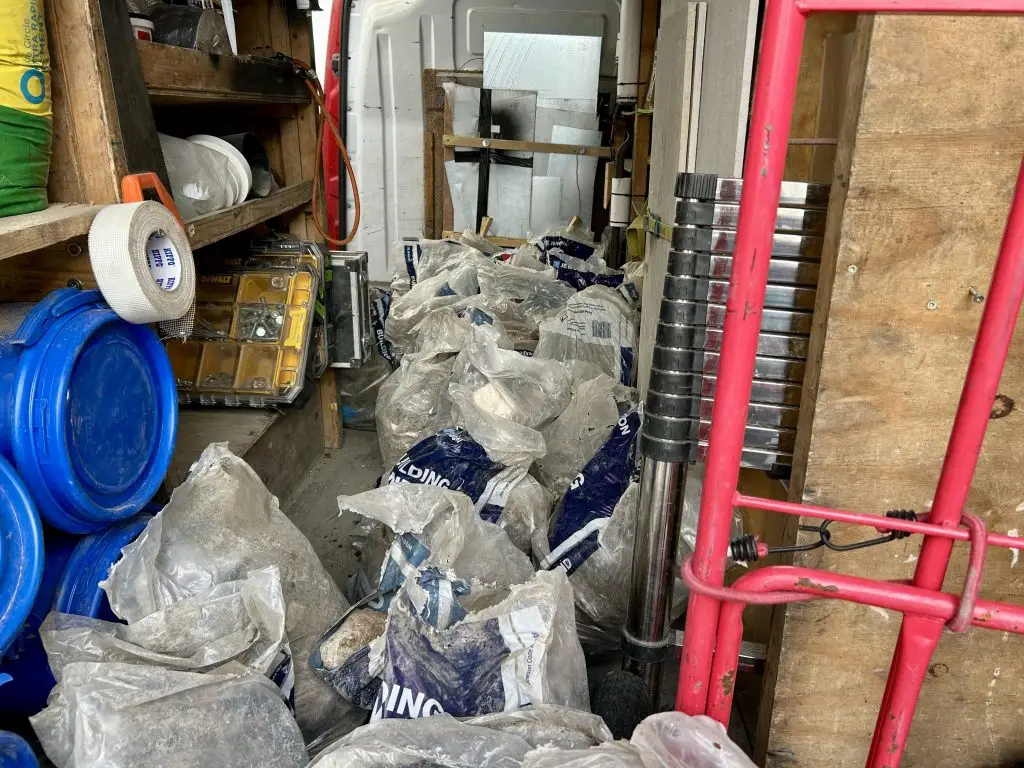
  • Over 1 tonne of rubble was produced.
  • The hearth was a riven black 20mm thick 120cm x 90cm blank slate slab/tile cut on site to form a single T shaped hearth.
  • We installed a flexible flue liner within the existing masonry chimney, and connected this to black stove pipe which connected to the stove.
  • The stove is a Castle Stirling.
  • A black metal closure plate sealed off the chimney above the stove.
  • A cowl was fitted at the top end connecting the liner to the pot.
  • A Carbon Monoxide alarm & a Chimney Notice Plate were fitted, commissioning tests and handover were performed. 
  • HETAS Certificate of Compliance provided.
  • The total price for the full installation was £4,400 (VAT included).
Multiple rubble bags loaded in the back of a Blazing Burners work van after a stove installation
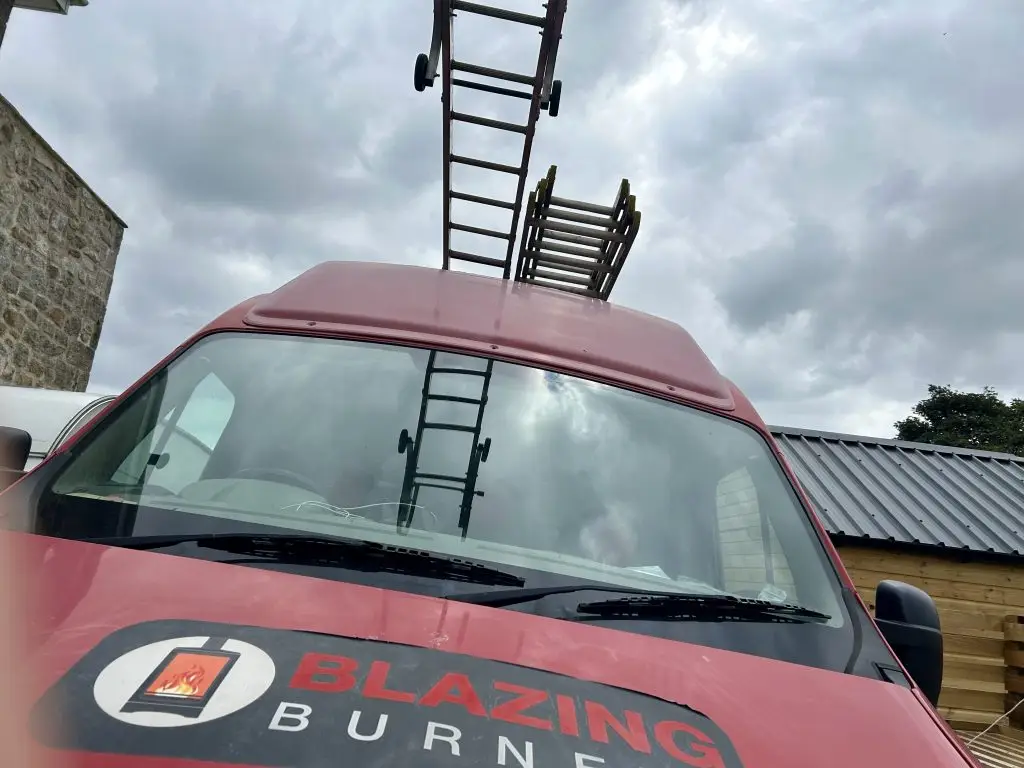
Blazing Burners red van from the front with ladders on top and logos

Are you curious to see what’s behind your wall?